


Black Friday falls on Friday 27 November 2026, but a sale only saves money when the price is below the listed price. A discount shows up as a higher compare-at price beside the sale price. None of the SoundSkins car kits we checked on 13 November 2026 showed one, so the value has to come from the kit itself: its square footage, its contents and where it goes. The rest of this page ranks the options by what each dollar buys.
What each dollar buys across the car kits
The table lists SoundSkins car kits by price, with the listed size and the price per square foot. All seven showed an Add to Cart button on the pages checked on 13 November 2026.
|
Kit |
Price (USD) |
Listed size |
Per sq ft |
What it includes |
|---|---|---|---|---|
|
$199.00 |
38.75 sq ft |
$5.14 |
One roll, cut to fit. No roller or tools listed. |
|
|
$324.95 |
22 sq ft |
$14.77 |
Two Pro door kits, speaker rings, roller |
|
|
$523.95 |
60.75 sq ft |
$8.63 |
Two Pro door kits, Classic roll, speaker rings, roller |
|
|
$570.00 |
64.5 sq ft |
$8.84 |
Pro Plus roll, speaker rings, roller |
|
|
$578.95 |
60.75 sq ft |
$9.53 |
The Premium contents plus foam tape |
|
|
$824.95 |
103.25 sq ft |
$7.99 |
Pro Plus roll, Classic roll, foam tape, speaker rings, roller |
|
|
$1,054.95 |
103.25 sq ft inside, 54 sq ft for the hood |
$10.22 inside, $6.71 with the hood |
Pro Plus roll, Classic roll, Heat Shield roll for the hood, speaker rings, roller |
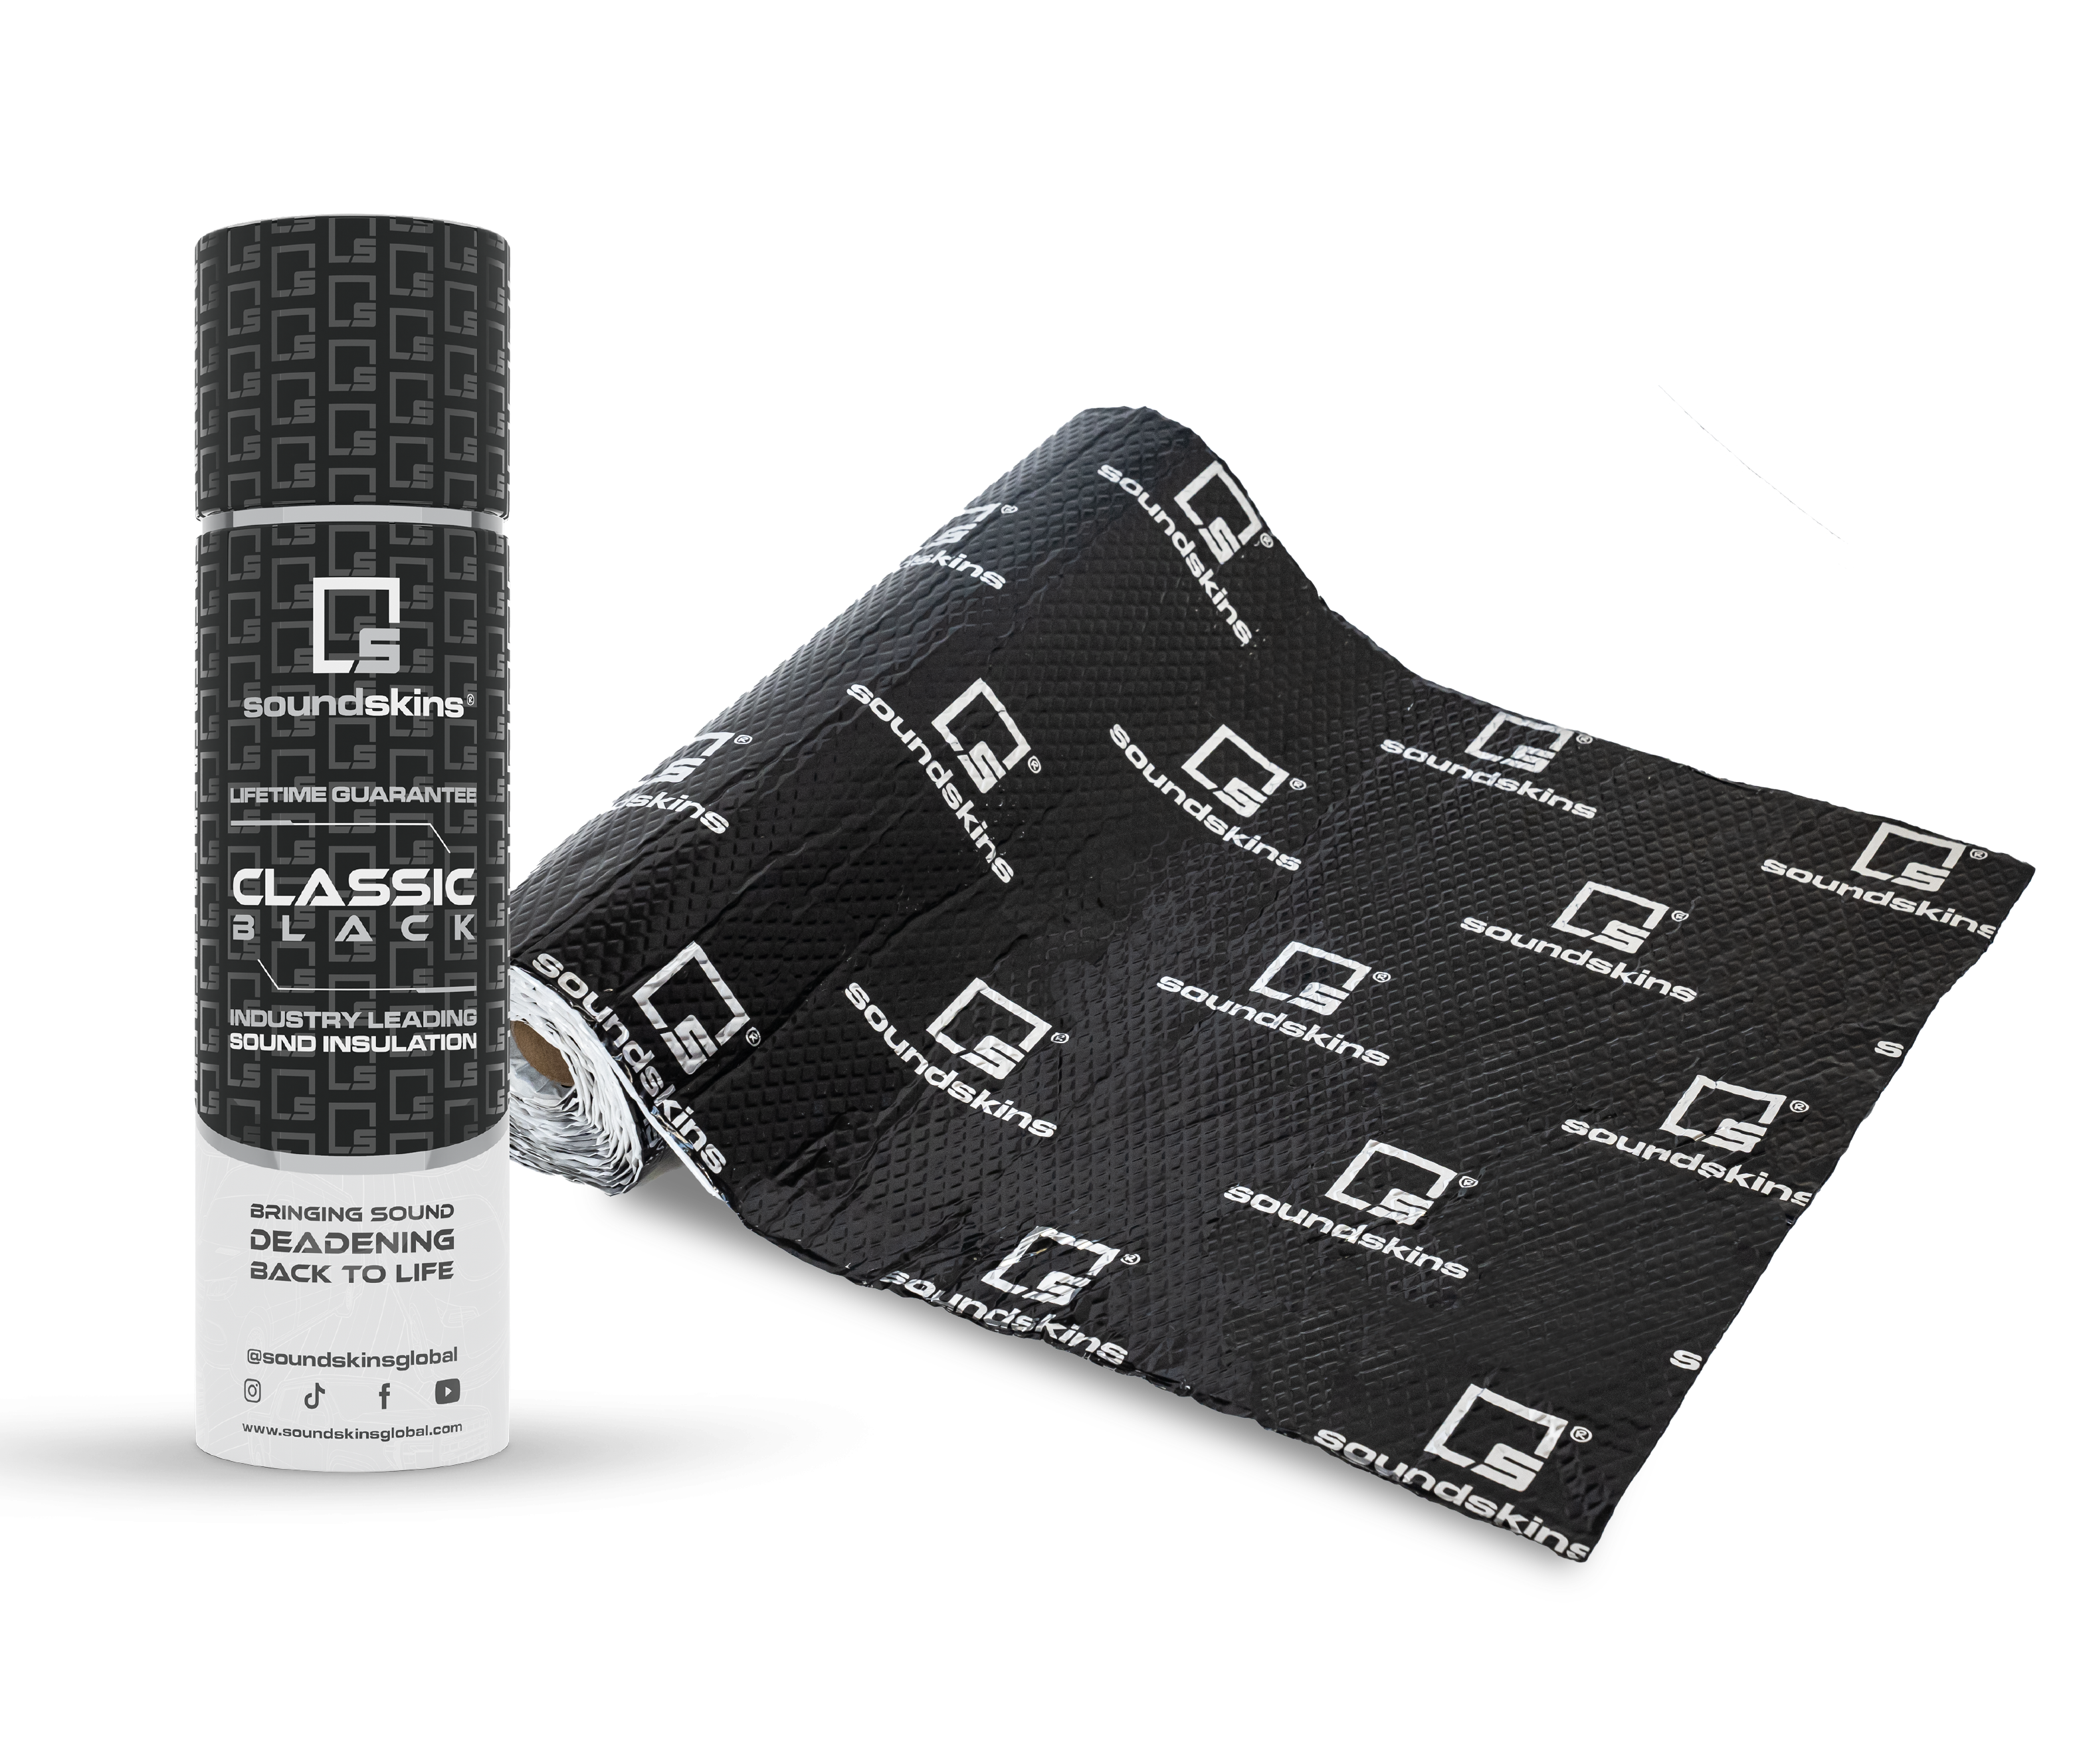
Per square foot is a rough guide. The kits differ in speaker rings, foam tape and rollers, and the listed size is the kit total, not the area of your car.
For why damping and foam do different jobs, read the advantages of sound damping guide before you choose between a roll and a foam-based kit.
The cheapest square foot is the Classic roll. It suits one zone you have already measured. The 4 Door Starter costs the most per square foot, because it is a small kit for doors and speakers. It works as an entry point, not as the value pick.
Spending tiers: what $200, $350, $550 and $825 get you
- About $200: one zone. The Classic roll at $199 covers 38.75 sq ft and cuts to fit. Use it on the trunk, which SoundSkins ranks second after the doors in its where-to-start article.
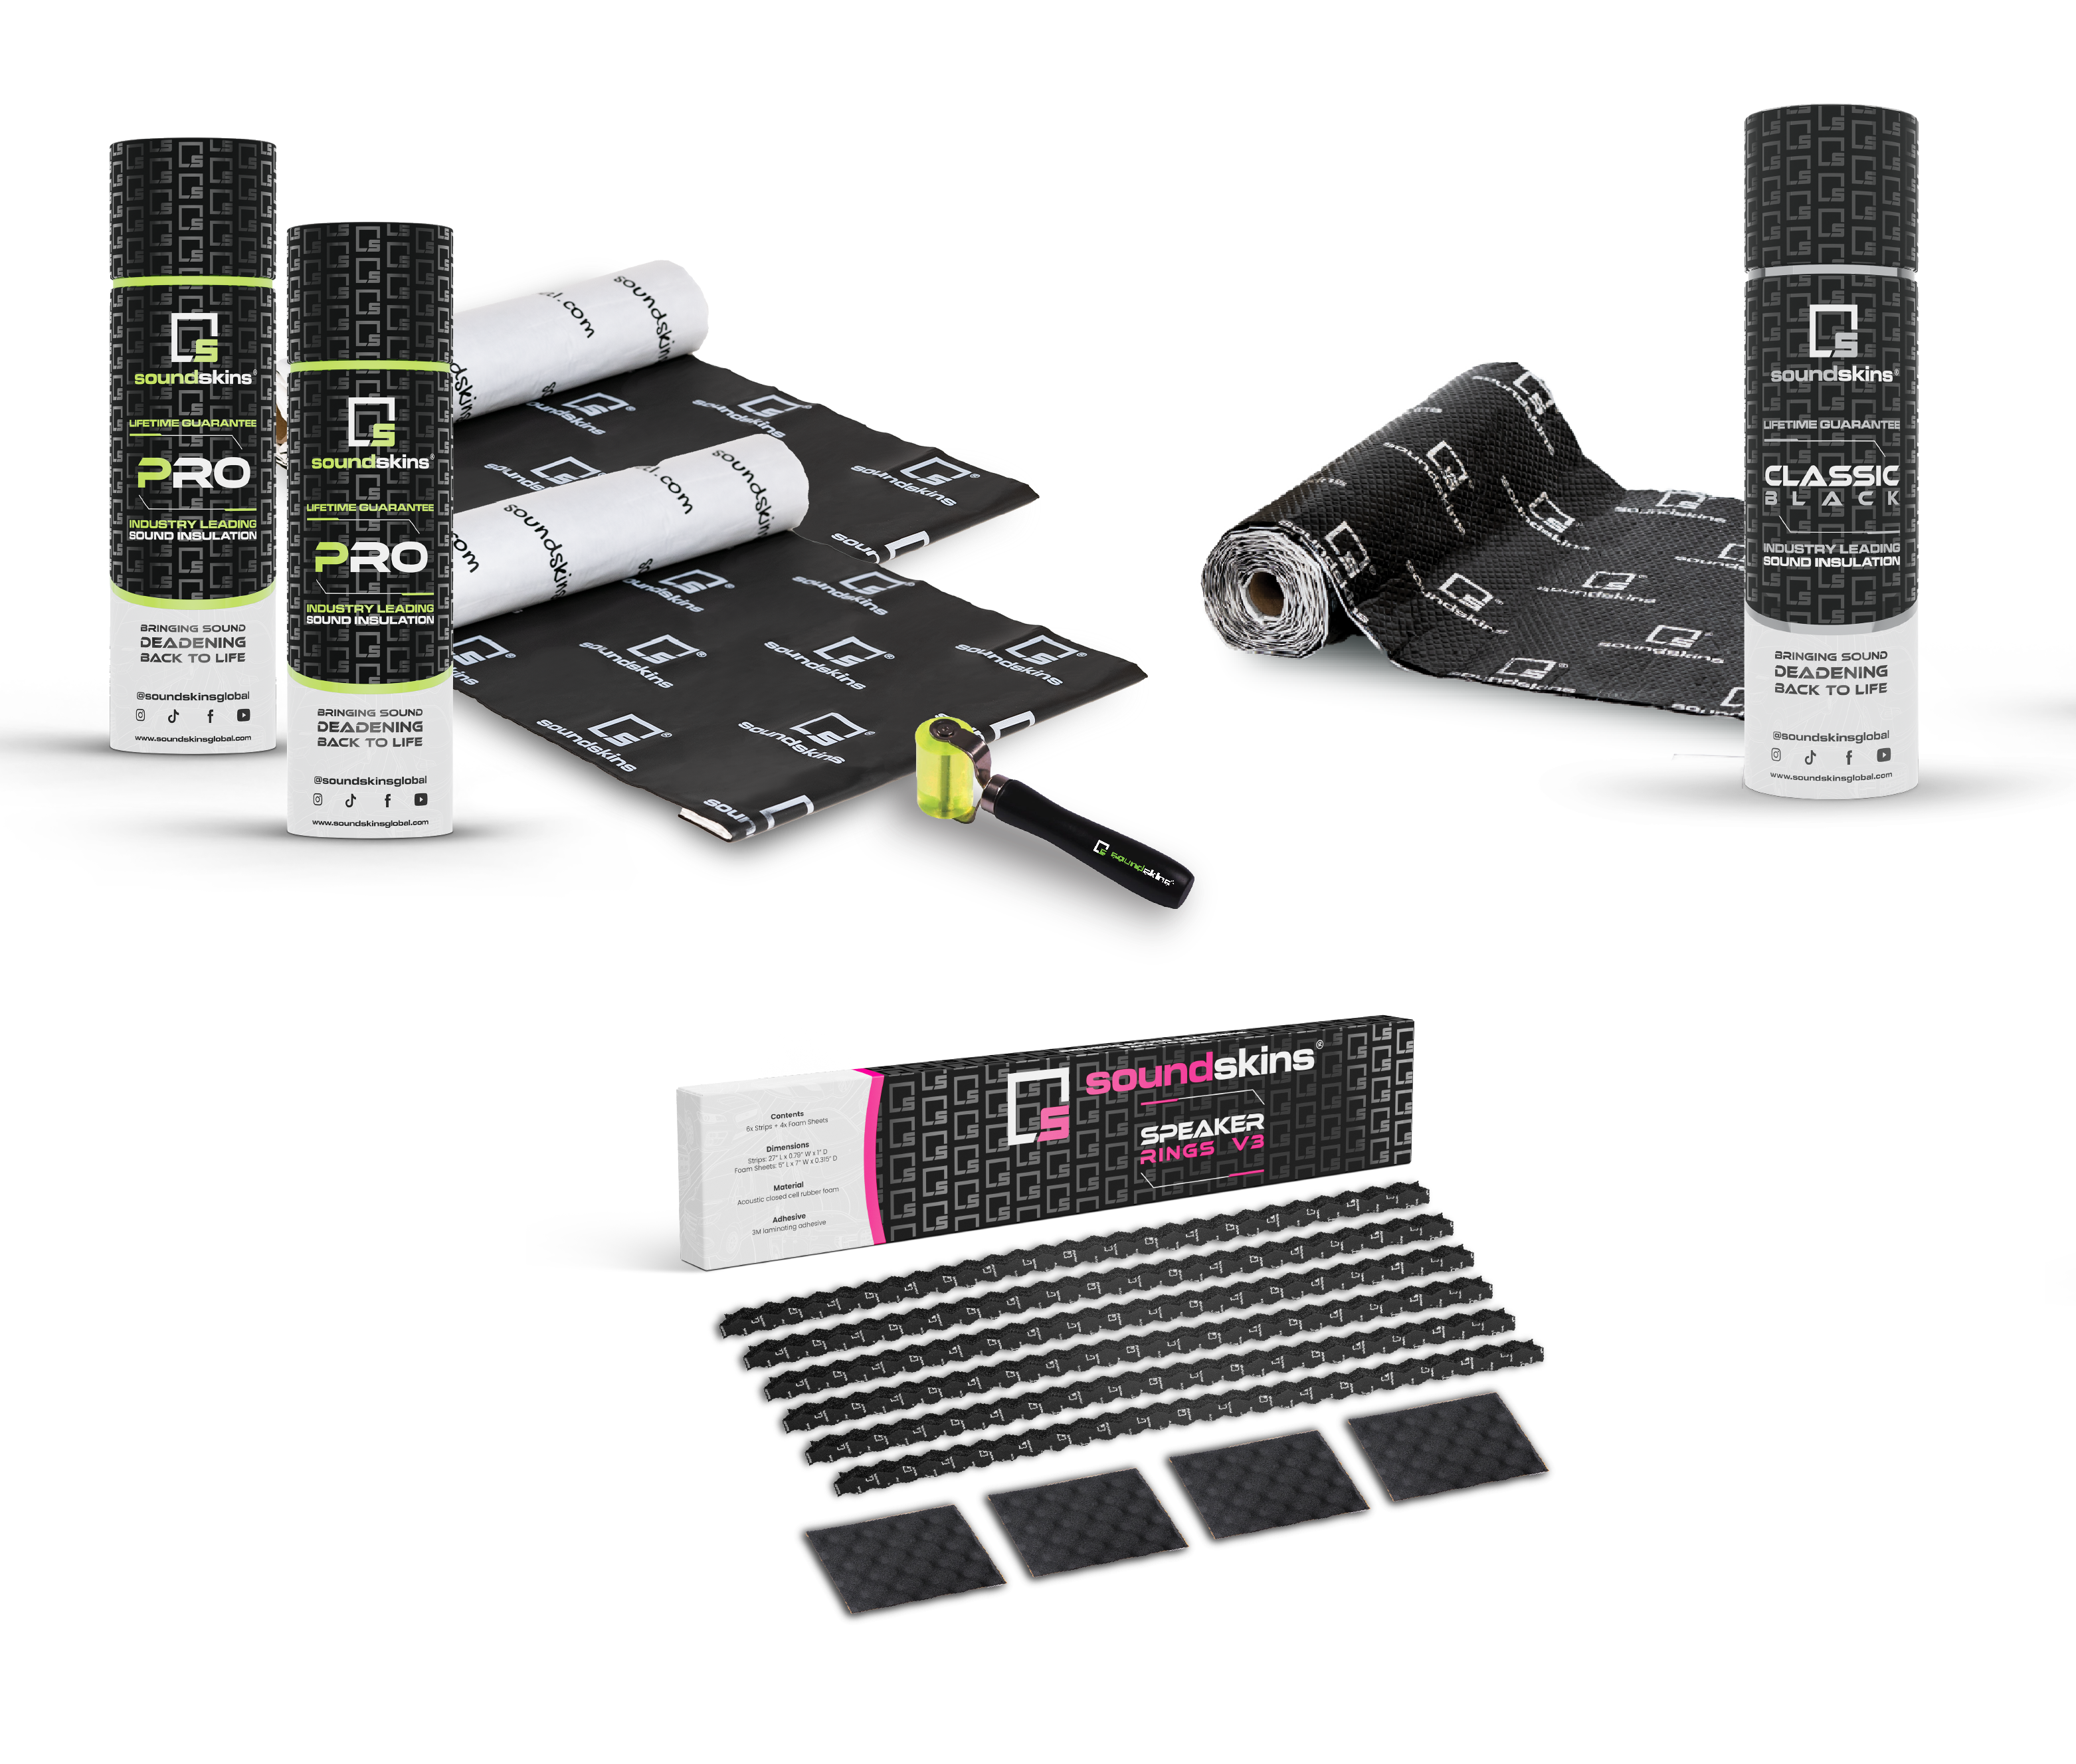
- About $350 to $525: doors first. The 4 Door Starter at $324.95 covers 22 sq ft, with two door kits and speaker rings for six or more speakers. The 4 Door Premium at $523.95 covers 60.75 sq ft for four doors.
- About $570: the most area for the money. The Full Coverage Standard covers 64.5 sq ft at $570. The 4 Door Pro covers less area at $578.95, although the contents differ.
- About $825: the step up is the Classic roll. Premium costs $254.95 more than Standard. Its extra items are the Classic roll, which sells alone for $199, and foam tape.
- About $1,055: the hood. The Pro bundle lists no foam tape. It adds a Heat Shield roll for the hood and engine bay, for $230 more than Premium.
- Car audio add-on: a Bronco enclosure at $349. The sealed 10-inch tailgate enclosure fits 2021 and newer Ford Broncos and is made in the USA from MDF. The page does not say whether a subwoofer or wiring is included. Enclosures are final sale.
Gifts for the car owner in your life
Pick the gift by who will do the install. A roll or kit suits someone who likes working on the car. An enclosure suits someone who already plans a subwoofer.
- For the DIY partner: the Classic roll, $199. It is one 38.75 sq ft roll, cut to fit, and the page lists no roller. Add a roller to the gift for a firm bond.
- For the speaker upgrader: the 4 Door Starter, $324.95. It includes two Pro door kits and speaker rings for six or more speakers, covering 22 sq ft.
- For the whole-car gift: the Full Coverage Standard, $570. It includes a Pro Plus roll, speaker rings and a roller, covering 64.5 sq ft. The page describes it as covering the whole vehicle, floor to roof.
- For a Ford Bronco owner: the tailgate enclosure, $349. It is sealed and fits 2021 and newer models. Confirm the subwoofer size first, because enclosures are final sale.
Before you buy a Bronco gift, send the recipient the Ford Bronco sound deadening guide, so they can judge the work before the box arrives.
If the recipient is new to sound deadening, the soundproofing starter kit guide is a gentler first read than a product page.
Measure before you buy
Kit square footage is the material in the box, not the metal area of your car. Measure first, then match the kit to the number. The vehicle size coverage guide sets the method out in full. In short:
- Measure each flat panel in feet, length times width.
- Add the panels in each zone, then add the zones together.
- Multiply the total by 0.25 for a minimum, or by 0.5 to 0.6 for a clear improvement.
- Buy a little more than the result, to allow for mistakes.
For example, a car with 100 sq ft of flat metal needs about 25 sq ft as a minimum, and 50 to 60 sq ft for a clear improvement. Against that example, the 4 Door Premium's 60.75 sq ft is just above the top of the clear-improvement range, and the Classic roll's 38.75 sq ft covers one zone.
Two details matter at checkout. The speaker rings in the bundles cover speakers from 6x9 inches down to 1 inch. The Heat Shield roll in the Pro bundle is listed for the hood and engine bay, not the cabin.
Shipping and returns before the holiday rush
Sound deadening orders take 7 to 10 business days to process, excluding weekends and public holidays. That comes from the SoundSkins shipping policy. Expedited delivery takes 1 to 3 business days after that, and standard delivery takes 4 to 10. The page lists no order cutoff times and no holiday adjustments.
Put the ranges together and a standard order can take up to 20 business days from purchase to delivery. By our count, an order placed on Black Friday, 27 November, could arrive around 28 December in the worst case. For a worst-case arrival by Christmas Eve, order by 25 November.
Free ground shipping applies in the continental US, with no minimum order. Alaska, Hawaii and Canada orders are charged for shipping.
The refund policy allows 30 days to return items in unopened, new condition for a full refund. Open-box products cannot be returned. Enclosures are custom-made and final sale, so confirm the size before ordering one. The policy has no separate Black Friday or Cyber Monday terms.


