How to Sound Deaden a Van
Understand the Benefits of Sound Deadening:
Many people choose to skip sound treatment when building out their camper vans, only to regret it later when they hear the clattering and rattling on the road, or hear every noise outside of their vehicle when they are trying to relax or sleep. Sound deadening is a crucial step that should not be skipped when building a van for several important reasons:
- Noise and Vibration Reduction: Vans can be noisy environments due to road noise, engine vibrations, and wind resistance. By implementing sound deadening measures, you can significantly reduce these intrusive noises at the source, creating a quieter and more comfortable space inside the van. This is particularly important during long drives or when trying to relax or sleep in the van.
- Improved Acoustic Experience: By reducing echoes, vibrations, and external noise, sound deadening materials can significantly enhance audio quality and allow you to fully enjoy your favorite music, podcasts, or movies.
- Comfort and Relaxation: Applying sound deadening in your van creates a more pleasant environment for living, working, and resting. Whether you're embarking on a road trip, camping adventure, or using your van as a mobile office, minimizing noise and vibration intrusion can greatly enhance your overall comfort and relaxation.
- Privacy: Sound deadening prevents conversations and activities from being overheard by people outside the vehicle, allowing you to enjoy personal moments without unnecessary exposure. This is especially helpful when you are stealth camping.
- Thermal Insulation: Many sound deadening materials also possess thermal insulation properties, keeping the van cooler in hot weather and warmer in colder conditions. This can contribute to energy efficiency by reducing reliance on heating or cooling systems.
- Resale Value: A well-designed and properly soundproofed van can increase its resale value. Potential buyers often prioritize comfort, quietness, and insulation when considering a used van. By investing in sound deadening during the initial build, you're enhancing the overall appeal and marketability of your van in the future.
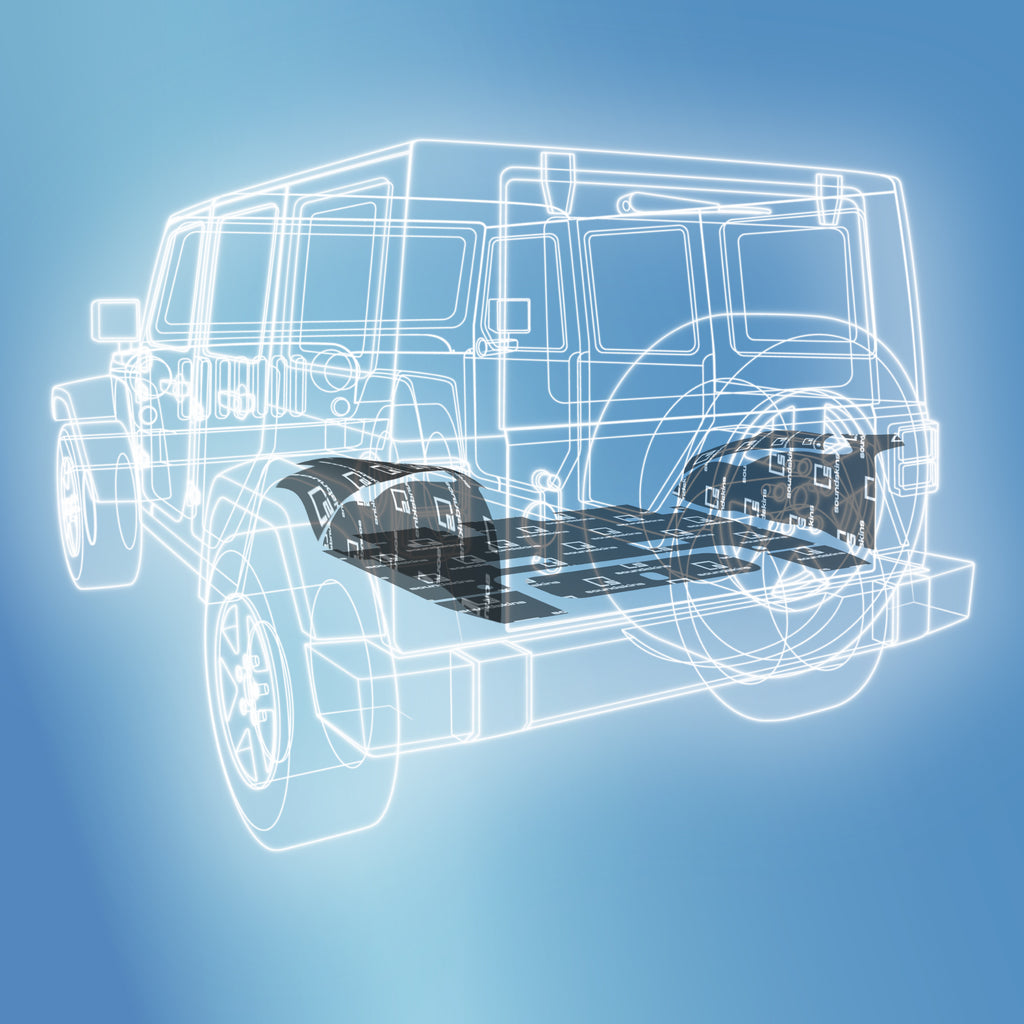
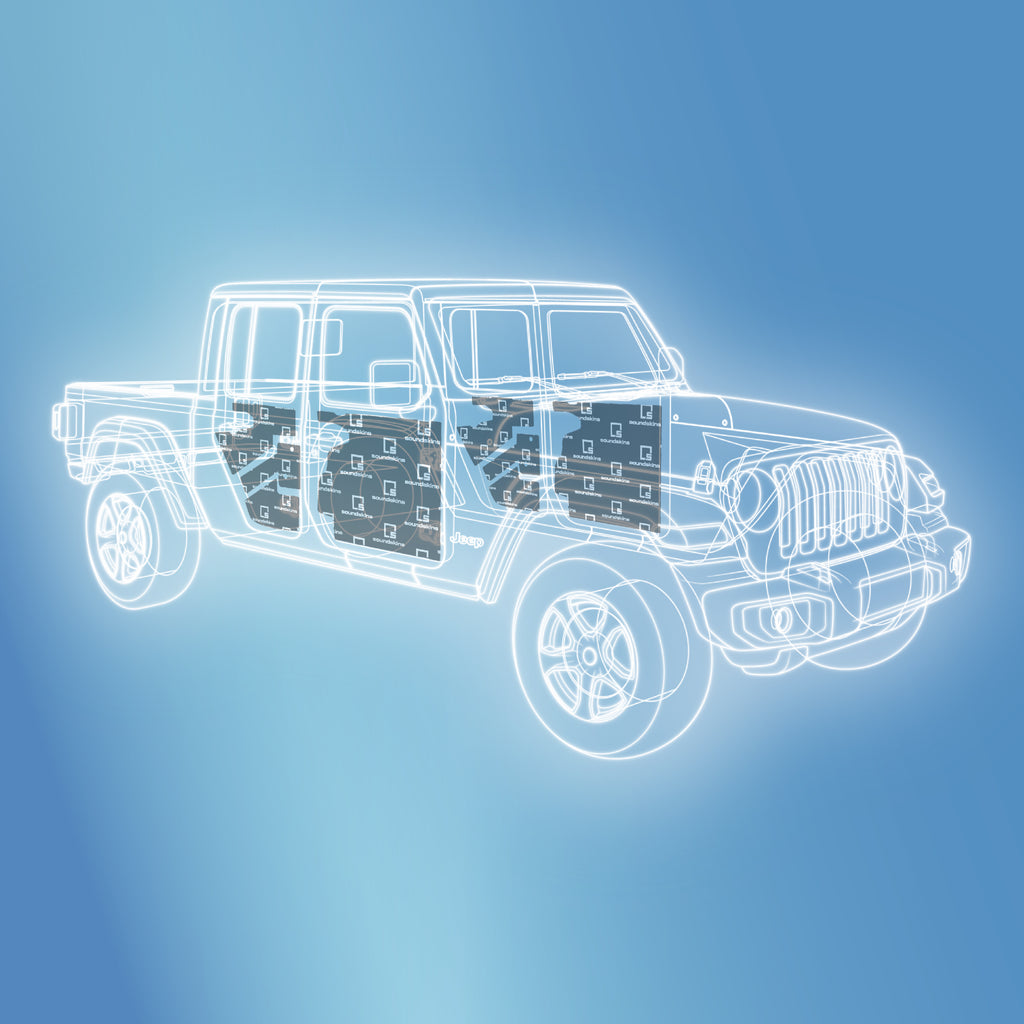
Best Areas of the Van to Apply Sound Deadener
Focus your efforts on covering these main areas, which are the main culprits for noise in camper vans and cargo vans.
- Doors: The driver and passenger doors, as well as the back and side doors on your camper van are likely one of the biggest areas for sound to flood in, especially if there are any cracks or gaps between the door and van or around the window.
- Roof: When working on a camper van sound-deadening project, you absolutely don’t want to dismiss your roof. Heavy rain, hail and strong wind can rail against the top of your camper van, making it difficult to fall asleep during severe weather. These sounds can also drown out conversation or the radio when you’re driving.
- Walls: Your camper van’s walls are one of the most critical areas to soundproof. Van walls are thin and vibrate easily, so all types of noise easily pass through them and resonate throughout the cabin. While furnishing your camper van will help a bit, the best way to eliminate excess noise is to apply sound deadening material to each wall.
Choosing the Right Materials:
When it comes to sound deadening, there are several materials available on the market. Here are a few things you should consider when choosing the material:
- Temperature Resistance: Some materials may handle high temperatures better than others, making them suitable for hot climates or areas near the engine compartment.
- Ease of Installation: Some materials, like adhesive-backed sheets are easier to apply than spray-on coatings, and require less specialized tools or skills, saving time and effort during installation.
- Weight Added to Vehicle: Sound deadening materials add weight to your van. This can impact its overall weight distribution, fuel efficiency, and load-carrying capacity. Determine how much weight you are able to add to your vehicle overall to determine which product best suits your needs.
- Durability: In a van build where the vehicle will be subject to constant vibration, moisture, and wear and tear, it's worth investing in materials that are resistant to degradation, peeling, or deteriorating under various conditions.
- Safety: Using materials that are tested for safety when used in Motor Vehicles (such as FMVSS 302 compliance) is important when building your van as it ensures personal safety, provides peace of mind, enhances resale value and marketability, and mitigates liability concerns. By using materials that meet flammability standards through FMVSS 302, van builders prioritize the safety of themselves and their passengers, demonstrate their commitment to safety, and protect themselves from potential legal and financial implications.
These factors should be carefully evaluated alongside your specific needs, budget, and preferences when selecting sound deadening materials for your van build. Balancing temperature resistance, weight considerations, space utilization, and durability will help you make an informed decision that aligns with your goals for a comfortable and efficient van interior.
Our Recommendation:
When it comes to sound deadening options, there are two main popular options: butyl and aluminum adhesive backed sheets and spray-on sound deadeners. Although both butyl and aluminum sound deadening sheets and spray-on sound deadeners have their advantages, we would recommend applying butyl and aluminum sound deadening sheets over spray-on sound deadeners for these reasons:
- Easier Installation: Butyl and aluminum sound deadening sheets can be easily cut and applied to specific areas of the van, such as doors, panels, and floors. This allows for greater control and coverage, ensuring consistent sound deadening results. In contrast, spray-on sound deadeners require careful masking and application along with specialized tools and skills, which can be time-consuming and may result in uneven coating if not done correctly. Overspray and drips can also occur, potentially staining other surfaces or requiring additional cleanup.
- Easier Removal/Modifications: Once applied, spray-on sound deadeners can be challenging to remove or modify. If you need to make changes or access the underlying surfaces, it may require scraping or sanding off the coating, which can be time-consuming and labor-intensive. In comparison, butyl and aluminum sheets can be fairly easily removed using a heat gun.
The butyl and aluminum product that we recommend is SoundSkins Pro Plus. SoundSkins Pro material is composed of 3 layers: the same effective, high quality pure rubber butyl and metal aluminum foil seen with other popular products, but with an added layer of closed cell acoustic foam on top. This means that the material not only dampens vibration and sound in your van, but the foam layer helps to decouple (cushion) vibrations caused between two or more hard surfaces, adds a layer of thermal insulation, and aids in sound absorption.
SoundSkins Pro is resistant to extreme temperatures, from -40 to 356 F, and is compliant with the Federal Motor Vehicle Safety Standard 302, meaning it is flame resistant and safe for use in motor vehicles. The material is durable and weather resistant, guaranteed to last as long as your vehicle, and it is thin and lightweight, coming to about 0.5lbs/square foot and 0.177” thick.
Best of all, SoundSkins Pro has been tested for its effectiveness in vibration reduction, and has been proven to outperform leading popular brands. It is trusted and used by all types of motor vehicle installers and van builders across the US, Canada, and Latin America.
SoundSkins also offers vehicle specific pre-cut door kits for popular van models, including the 2019+ Mercedes Benz Sprinter Van and the 2015+ Ford Transit Van. This takes out the stress and hassle from quieting your van, all you need to do is peel and stick!
To learn more about SoundSkins Pro Plus, click here.
How Much Sound Deadening Material Do I Need for my Van?

Depending on the size of your van (if you have a high roof, long axle, etc.) and the size of any cutouts you will make in the van for windows and vents, the amount of sound damping material you need will vary. This is our general recommendation for the amount of material and number of SoundSkins Pro Plus rolls needed based on the size of your van.
Conclusion:
Sound deadening your Sprinter van build is a crucial step in creating the foundation for a tranquil and enjoyable travel experience. By utilizing the right materials and following a systematic approach, your van can truly be a peaceful sanctuary on wheels, allowing you to relax, unwind, and fully appreciate the wonders of the open road. So, invest in SoundSkins Pro sound deadening to help you love your journey!
Still not convinced?
Albert from American Van Works in Stanton, California tries out the SoundSkins Pro Mercedes Benz 2019+ Sprinter Van 4 Door kit for the first time and provides his thoughts and insights as a professional van builder.
Mark from American Van Works speaks about an often overlooked but extremely important component for creating the best and most comfortable camper van - sound deadening! Mark speaks about why sound deadening should NEVER be skipped when building out a van, and why he exclusively uses SoundSkins in ALL of his projects.
Ford Transit 4 Door Sound Deadening Kit Installation:
Mercedes Sprinter 4 Door Sound Deadening Kit Installation:

Get a free open box pro!
Spend $350 on eligible Sound Deadening items and get a FREE Open Box PRO—no code needed! It’ll be automatically added to your cart at checkout.