


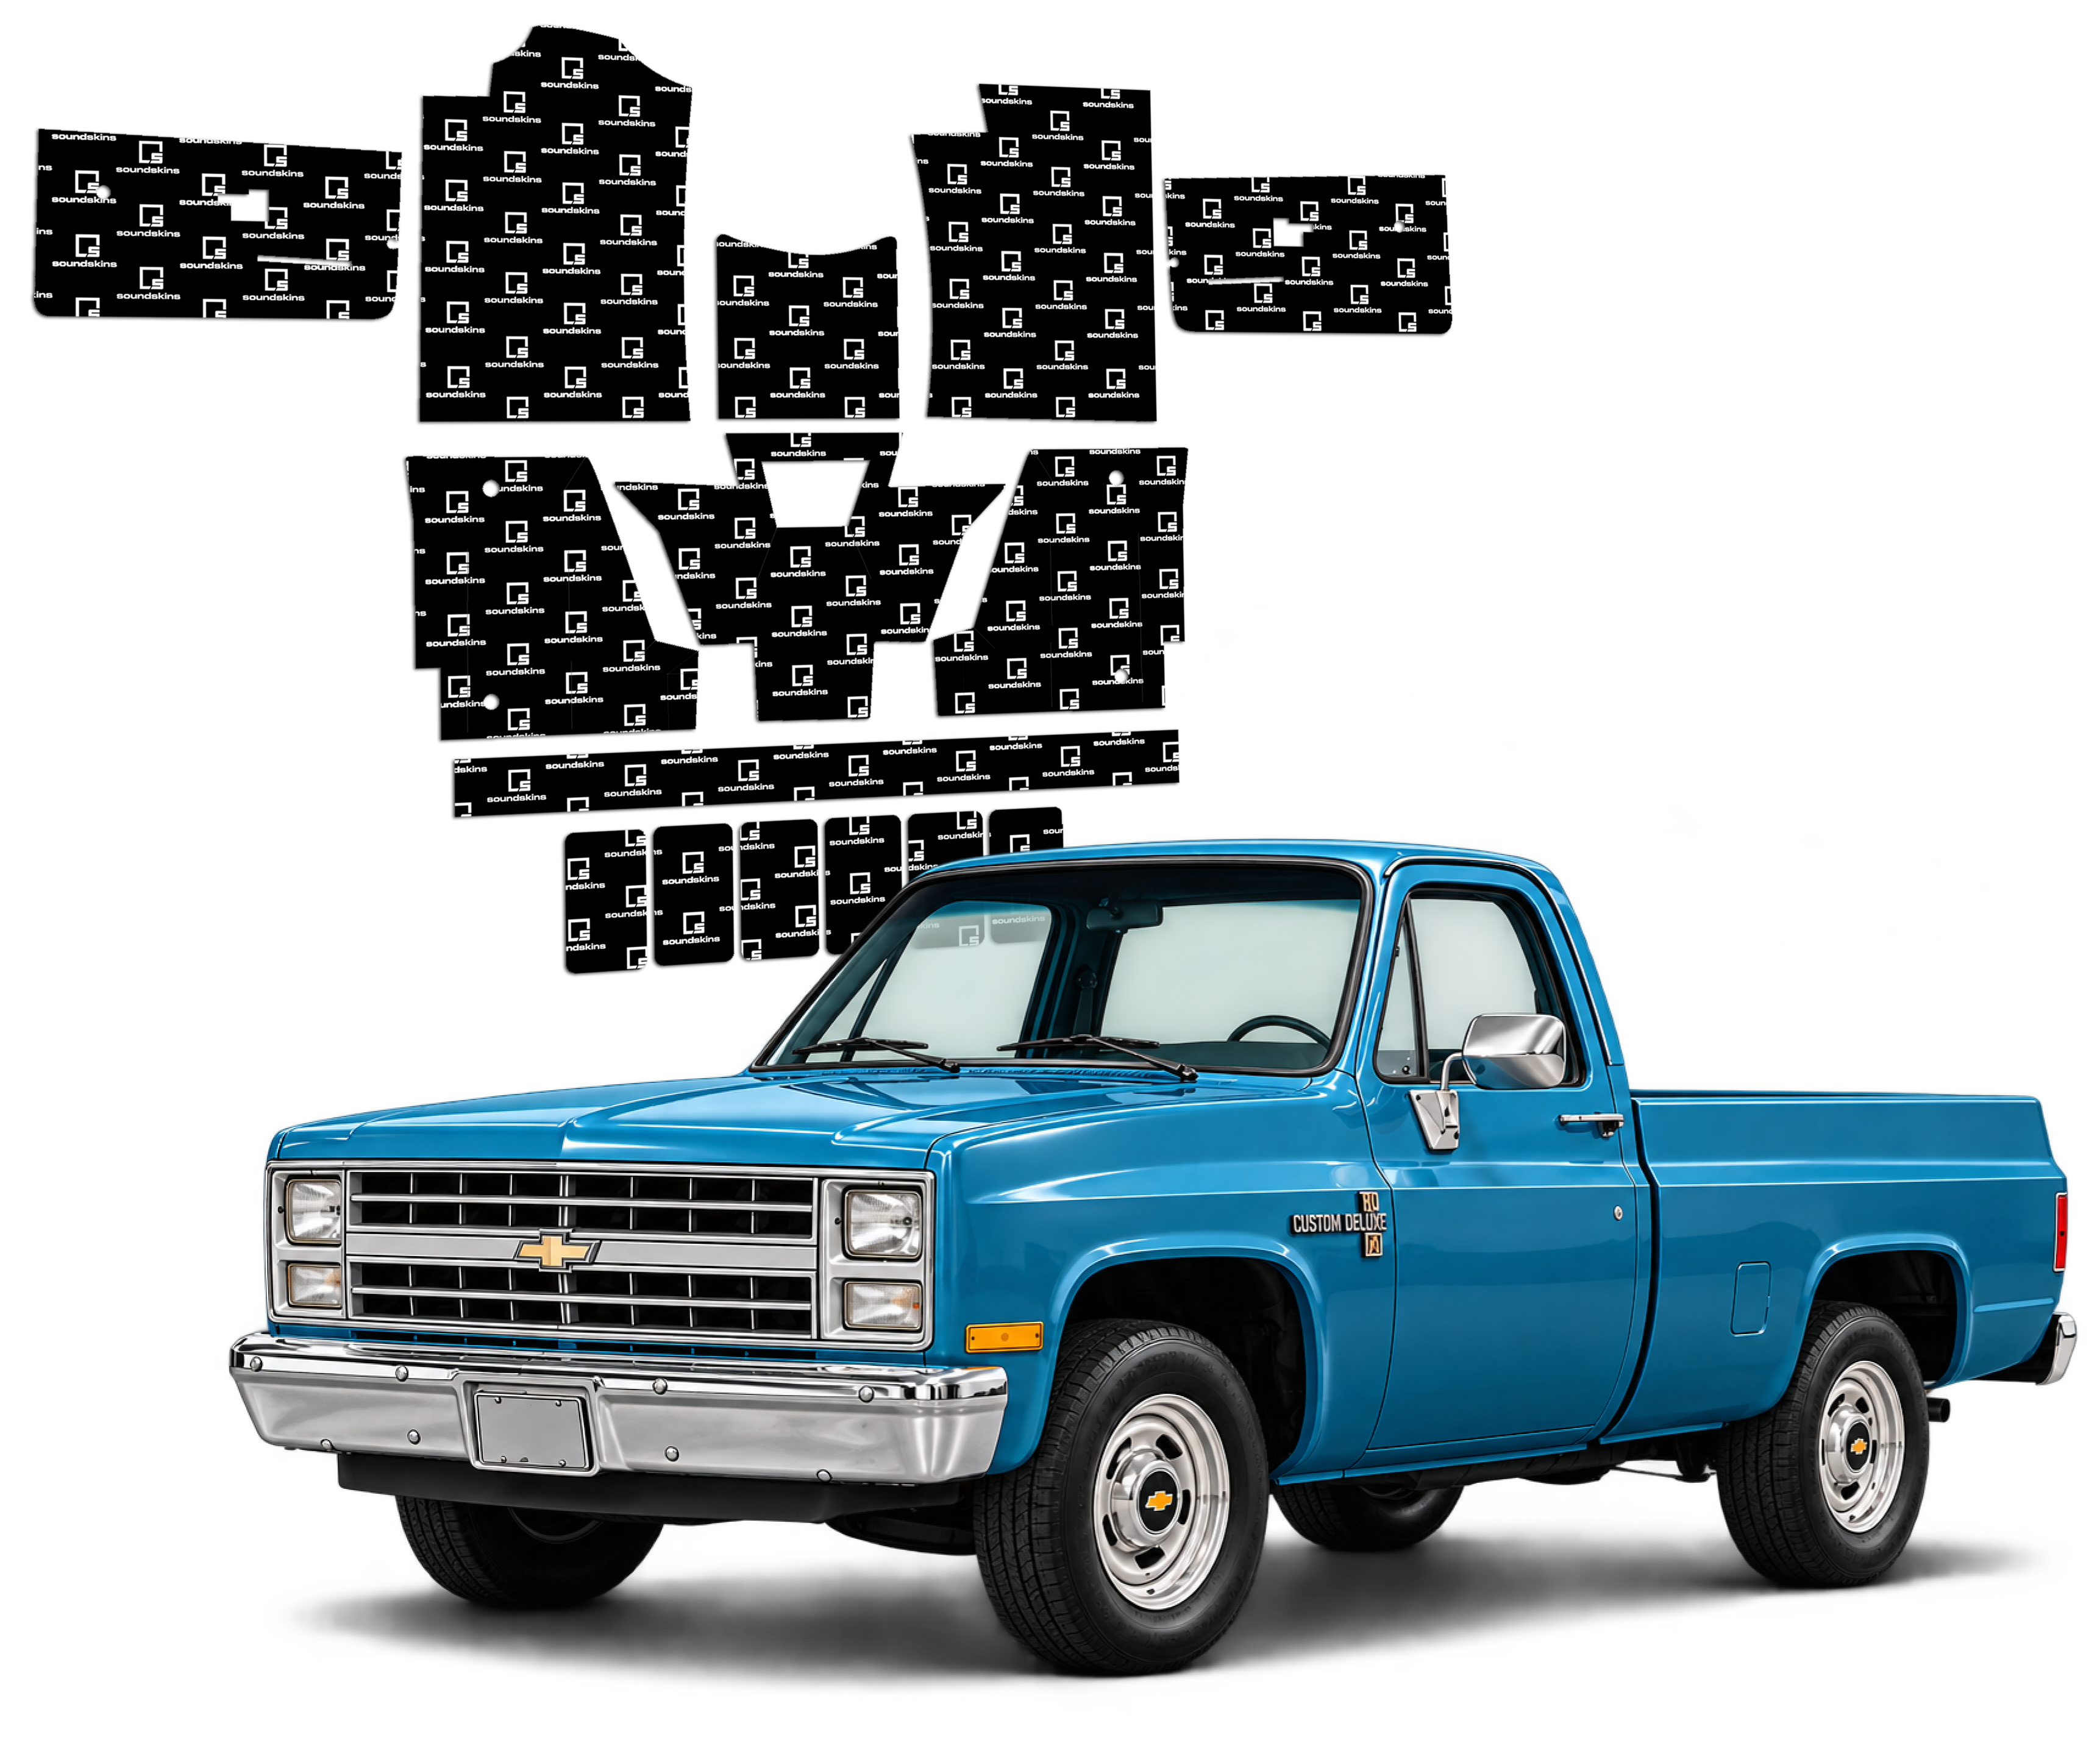
CERRITOS, Calif. (October 13, 2026) SoundSkins Global used the 2026 ClassicParts.com C10 Nationals presented by Chevrolet Performance to reveal its newest vehicle specific kit, a precut sound deadening kit built for the 1973-1987 Chevrolet C10. Square body owners got their first look at the kit on October 2-3 at Nashville Superspeedway, and the 1973-1987 Chevrolet C10 Sound Deadening Vehicle Specific Kit is now open for pre-order, with kits shipping this fall.
A Precut Kit Built for the Square Body
Classic C10s left the factory with very little insulation. That means road noise, heat soaking through the floor and firewall, and rattles that get louder every mile. The new SoundSkins kit takes the measuring and cutting out of the job. Every piece is precut for the truck's doors, floor and back cab wall, so it goes in clean without trimming sheets on the garage floor.
- 50.57 sq ft of coverage for the doors, floor and back cab wall
- 3-in-1 material with foam, foil and rubber butyl in a single layer, so one pass handles vibration, road noise and heat
- Two year-specific versions, because the under-seat pieces differ by year
- $495, pre-order open now, shipping this fall
- Step-by-step instructions and an install video included
Which Version Fits Your Truck
| Model Years | Part Number | Coverage |
|---|---|---|
| 1973-1980 Chevrolet C10 | SSK-C1073 | Doors, floor, back cab wall |
| 1981-1987 Chevrolet C10 | SSK-C1081 | Doors, floor, back cab wall |
Pro tip: If your build is mid-way and the interior is next, install the kit before carpet, seats and door panels go back in. It is the easiest point in the build to get full coverage. New to the process? Our sound deadener install guide walks through surface prep and rolling.
Pre-order the 1973-1987 C10 kit
Two Days With the C10 Community
C10 Nationals fills Nashville Superspeedway with classic Chevrolet and GMC trucks for a show-n-shine, autocross, dyno challenge, drag racing under the lights, a burnout contest and a Saturday night cruise on the oval. For SoundSkins, the best part was the people. The team spent both days at its booth on the vendor midway talking with owners and builders about road noise, heat and rattles, and the new kit drew steady interest from square body owners planning their interiors next.
"We had a blast. We met so many great people who are deep into their builds and need quality sound deadening and a precut kit that actually fits their truck. That is exactly who we built this for."
Dalton Duckett, Marketing Director, SoundSkins Global
Broke Dad Builds, ASPC10 and Truck for a Hero
A highlight of the weekend was time with Charlie Brown of Broke Dad Builds, who joined SoundSkins at the show. Charlie is the founder of the American Society for the Preservation of C10's (ASPC10), a 501(c)(3) nonprofit that restores classic GM trucks and gives them to veterans and other heroes who need reliable transportation. Its motto is "Restore a Truck. Restore a Hero."
SoundSkins is a build partner on ASPC10's Truck for a Hero program, supplying sound deadening and precut kits for its C10 builds. That starts with Truck #001, a square body known as "Beddy Wyte." The same truck helped shape the new kit, with Charlie working alongside SoundSkins on templates and test fitting during development.
"When we hand a truck to a veteran, it has to be more than something that runs. It should feel finished and be comfortable to drive every day. A quiet cab is a big part of that, and a kit that is already cut to fit the truck makes it a lot easier to get right."
Charlie Brown, Founder, ASPC10 and Broke Dad Builds
To learn more, donate or nominate a hero, visit aspc10.org.
Thank You, C10 Nationals and BFGoodrich
SoundSkins thanks Ken and the C10 Nationals crew for hosting an outstanding event and taking care of vendors all weekend. The team also took a turn in the BFGoodrich Share the Ride, where professional drivers take passengers around the autocross course.
"It was great to get a taste of what a pro touring C10 feels like ripping around the track. These trucks are being built to be driven hard, and that is one more reason to get the cab right."
Dalton Duckett, SoundSkins Global
More Classic Truck Kits and Events Ahead
SoundSkins plans to return to C10 Nationals and add more classic truck events to its calendar, including Dino's Git Down in Glendale, Arizona, one of the largest GM truck shows in the country. At each stop the goal stays the same: show owners what sound deadening does for a classic truck, from less road noise and less heat through the floor and firewall to fewer rattles and a better-sounding stereo.
The C10 kit is the first in what SoundSkins plans as a growing line for classic trucks. Driving a newer GM truck? Browse all vehicle specific truck kits, or use our kit recommendation tool to find the right fit.
This announcement was also covered by 12VoltNews.
About SoundSkins Global
Founded with a passion for innovation, SoundSkins Global specializes in high-performance sound dampening, insulation, and acoustic enhancement products for vehicles. Designed for superior noise reduction and thermal insulation, SoundSkins products enhance car audio performance and driving comfort. In addition to premium soundproofing materials, SoundSkins offers a growing lineup of custom-fit subwoofer enclosures, engineered to deliver exceptional audio quality and seamless integration with modern vehicles.
About ASPC10
The American Society for the Preservation of C10's (ASPC10) is a 501(c)(3) nonprofit founded to give classic GM trucks to veterans and other heroes in need of reliable transportation. Through its Truck for a Hero program, each truck is selected, restored for safety and reliability, and given to a hero in need. Learn more at aspc10.org.


