


Pop the hood on many modern cars and trucks and you will find bare metal, a thin fiber pad held on with a few clips, or a factory liner that has sagged, crumbled, or soaked up years of oil and grime. That small panel does more than most drivers realize. It helps control engine noise, keeps heat away from the paint, and shields the hood from the constant heat cycling of the engine below.
When that layer is missing or worn out, you hear more engine clatter, the hood gets hot enough to bake the paint from underneath, and the whole engine bay runs noisier than it should.
What Hood Insulation Actually Does
A proper hood liner handles three jobs at once.
Absorbs engine noise. The engine bay is a box of hard, reflective surfaces. Insulation on the underside of the hood absorbs sound waves instead of bouncing them back down and out toward the cabin and the street.
Blocks radiant heat. A reflective foil surface turns back the heat radiating off the engine, helping keep the hood skin cooler.
Stops hood vibration. A large, thin hood panel resonates at certain engine speeds. Adding a dense, well-bonded layer reduces that drumming.
Signs Your Hood Needs New Insulation
- The factory hood liner is sagging, torn, or falling apart
- Clips are missing and the liner flaps or hangs down
- There is no liner at all, just bare metal
- The liner is oil-soaked, which can become a fire hazard
- Engine clatter or diesel noise sounds louder than it used to
- The top of the hood gets very hot after a drive
- Paint on the hood is fading or cracking faster than the rest of the vehicle
Hood Insulation and Engine Noise
Hood insulation reduces the noise radiating out of the engine bay and stops the hood from resonating. That makes the vehicle noticeably quieter from the outside, at idle in the driveway, and at stoplights with the windows down.
Inside the cabin, most engine noise travels through the firewall, the wall between the engine bay and the footwells. That is why the best results come from treating both sides:
| Area | What It Fixes |
|---|---|
| Underside of the hood | Engine noise radiating out, hood resonance, under hood heat |
| Engine bay side of the firewall | Heat and noise before they reach the cabin wall |
| Cabin side of the firewall | Engine drone and vibration entering the footwells |
Treating the hood alone helps. Treating the hood and firewall together delivers the biggest overall drop in engine noise you hear from the driver's seat. For a deeper look at the cabin side, this guide explains how to reduce engine noise without compromising performance.
Hood Insulation and Under Hood Heat
Modern engines run hot. Turbochargers, tight engine bays, and long idle times in traffic all push under hood temperatures up. Without a barrier, much of that heat soaks straight into the hood panel.
Over time, that heat can:
- Fade and dull hood paint faster than the rest of the body
- Weaken clear coat and lead to cracking or peeling
- Heat soak nearby plastic and rubber parts
- Make the hood too hot to touch after a drive
A reflective heat barrier under the hood keeps much of that heat away from the painted surface and helps protect the finish.
What to Look for in a Hood Insulation Material
Not every sound deadening product belongs under the hood. Materials made for doors and floors are not built for engine bay temperatures. A proper under hood heat shield should have:
| Feature | Why It Matters |
|---|---|
| High temperature rating | Engine bay temperatures far exceed what cabin materials are built for |
| Reflective foil face | Turns back radiant heat from the engine |
| Closed cell foam core | Absorbs sound and will not soak up water, fuel, or oil |
| Non-flammable construction | A must for anything mounted above a hot engine |
| Strong adhesive backing | Holds upside down on a hood that sees constant heat and vibration |
| Lightweight build | Keeps the hood easy to lift and does not strain the hood struts |
The Best Hood Insulation From SoundSkins
SoundSkins Heat Shield, $285
The SoundSkins Heat Shield Thermal Insulation and Sound Deadening Kit is built specifically for use outside the cabin, including the hood, firewall, and engine bay.
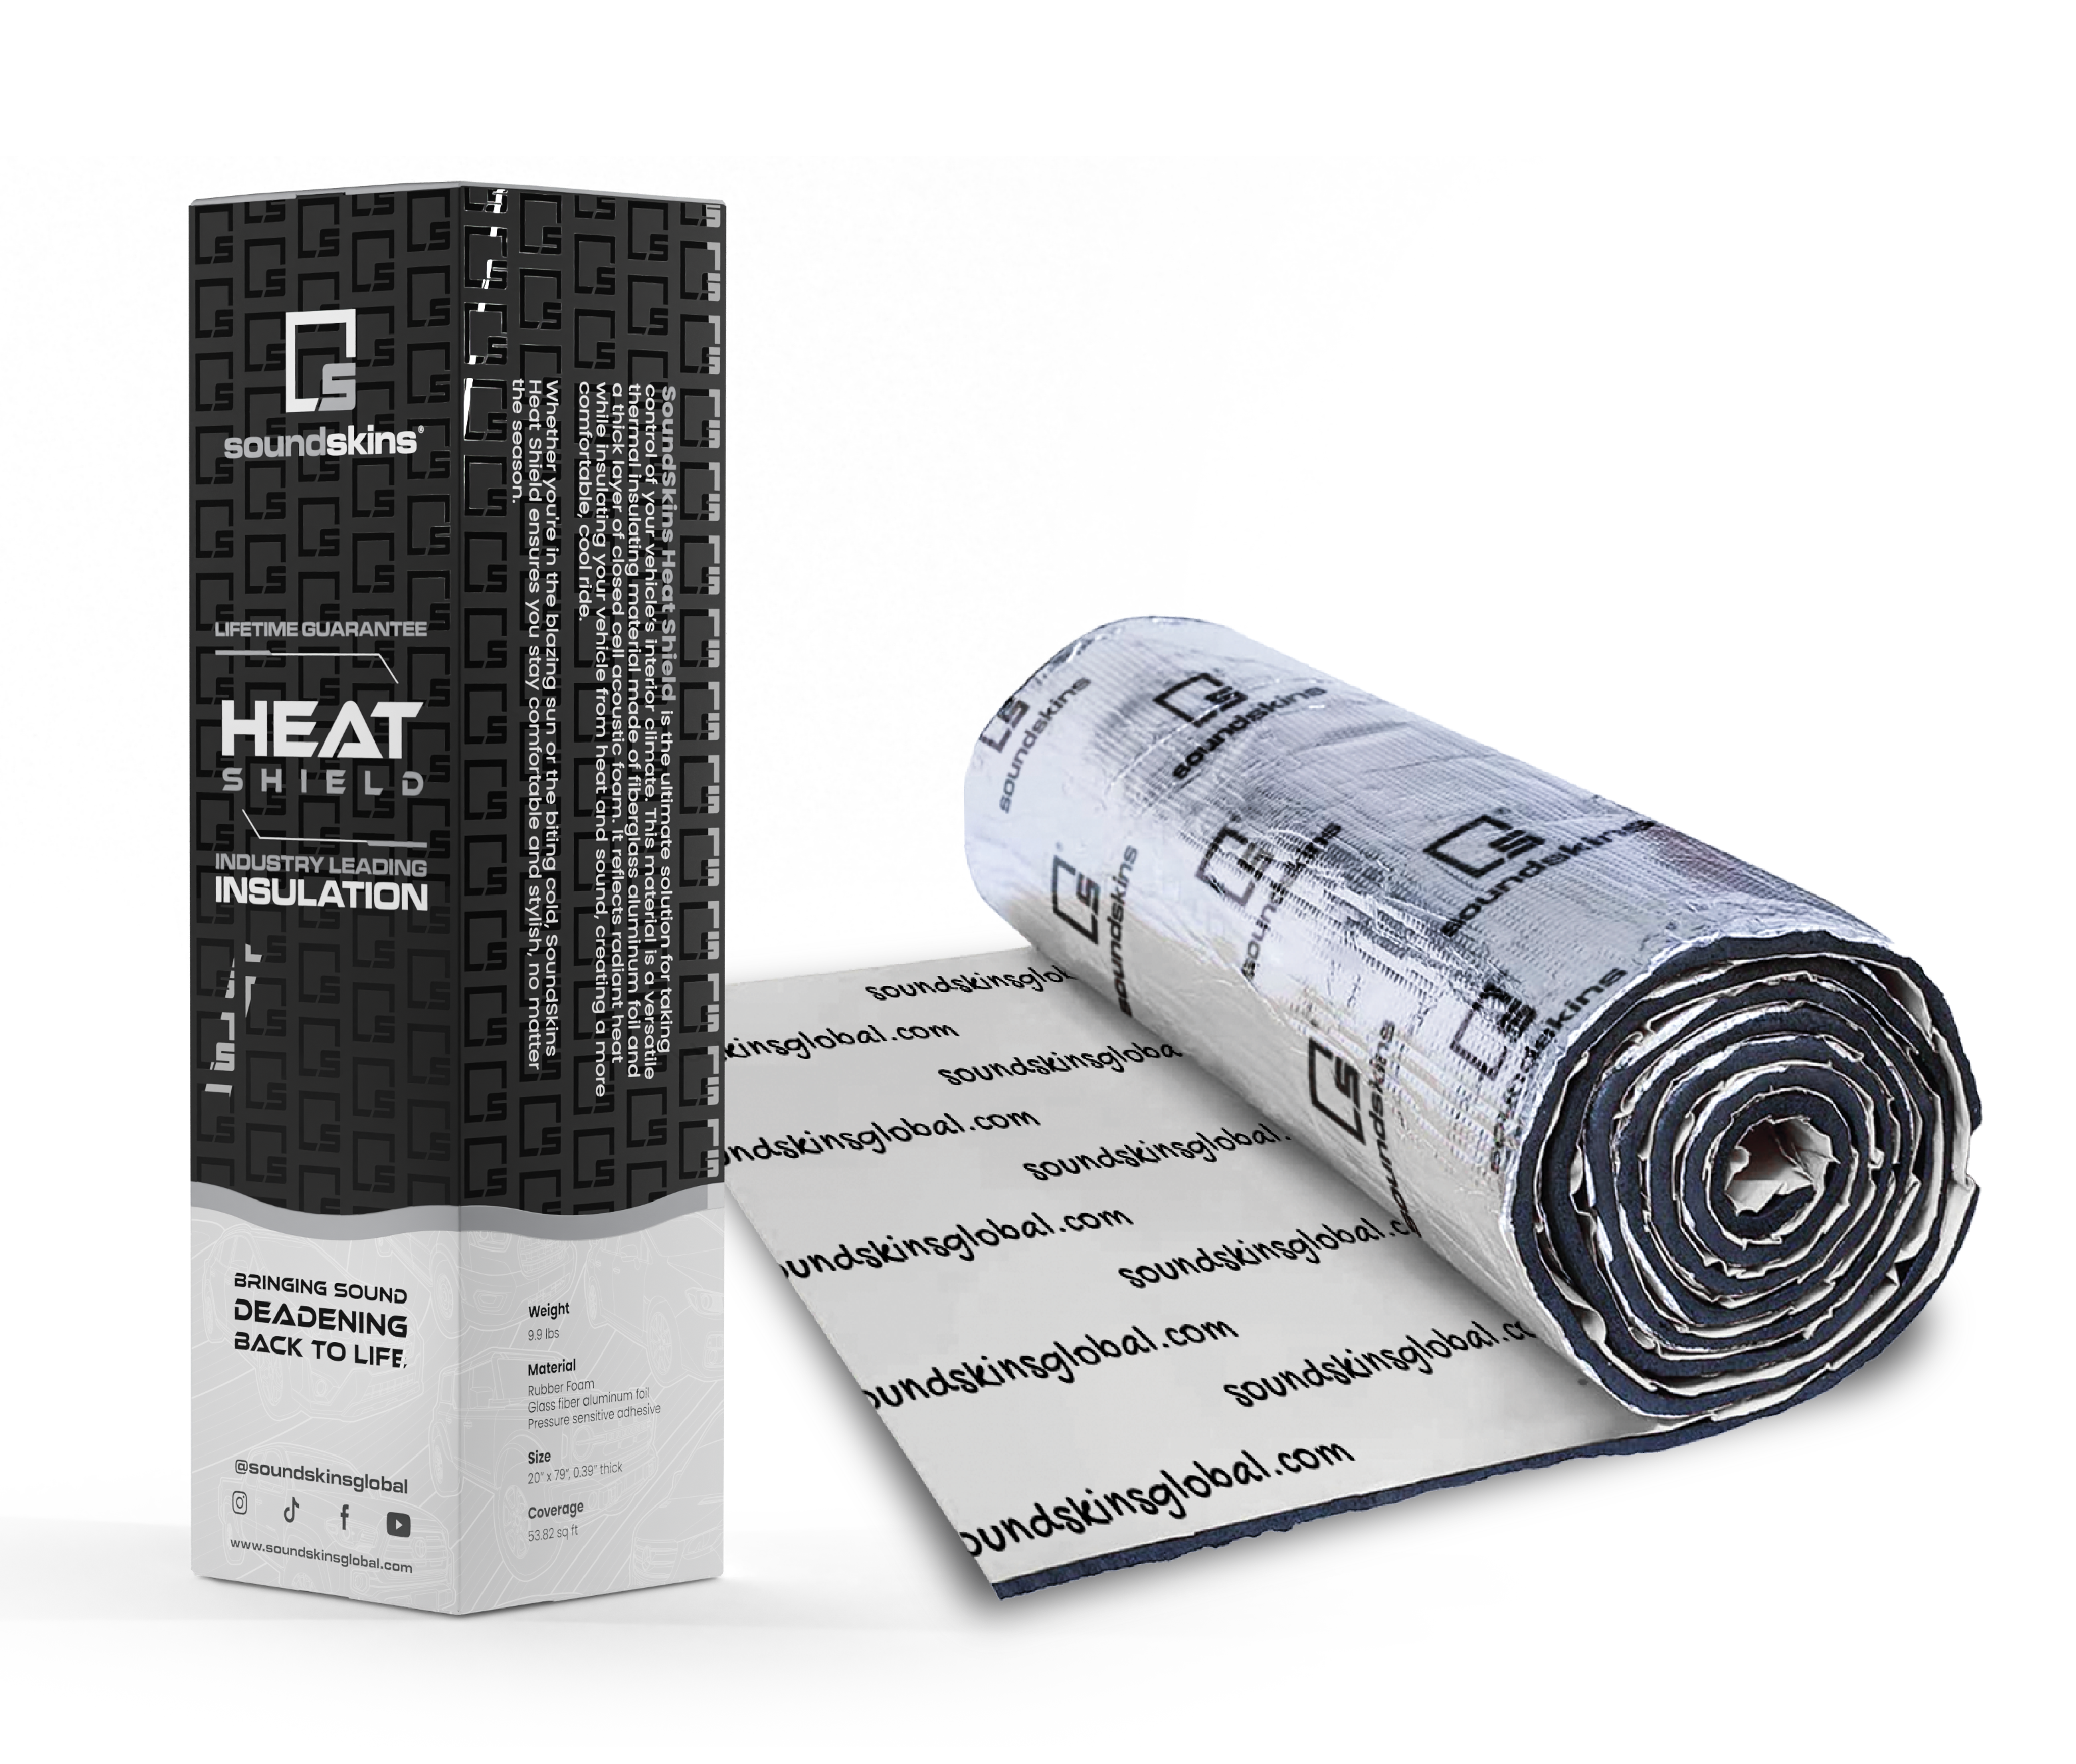
| Spec | Value |
|---|---|
| Coverage | 53.82 sq ft |
| Roll size | 39.4" x 196.9" |
| Thickness | 0.39" |
| Max temperature | 480°F |
| R-Value | 4.10 |
| Weight | 9.9 lbs |
| Construction | Fiberglass aluminum foil face, rubber acoustic closed cell foam core |
| Backing | Pressure sensitive adhesive |
Why it works under the hood:
- Dual action. The fiberglass aluminum foil reflects radiant heat, while the thick closed cell foam absorbs engine and exhaust noise.
- Built for the engine bay. It is non-flammable, does not absorb moisture, and has no odor.
- Lightweight. The full roll weighs under 10 lbs, so hood struts are not overloaded.
- Peel and stick. The adhesive backing makes it easy to install without spray glue.
- Enough for more than one area. One roll can cover a typical hood and still leave material for the firewall or other engine bay surfaces.
The Heat Shield can also be used on the wheel arches, under the floor, load floors, and body panels, which makes leftover material useful for other projects.
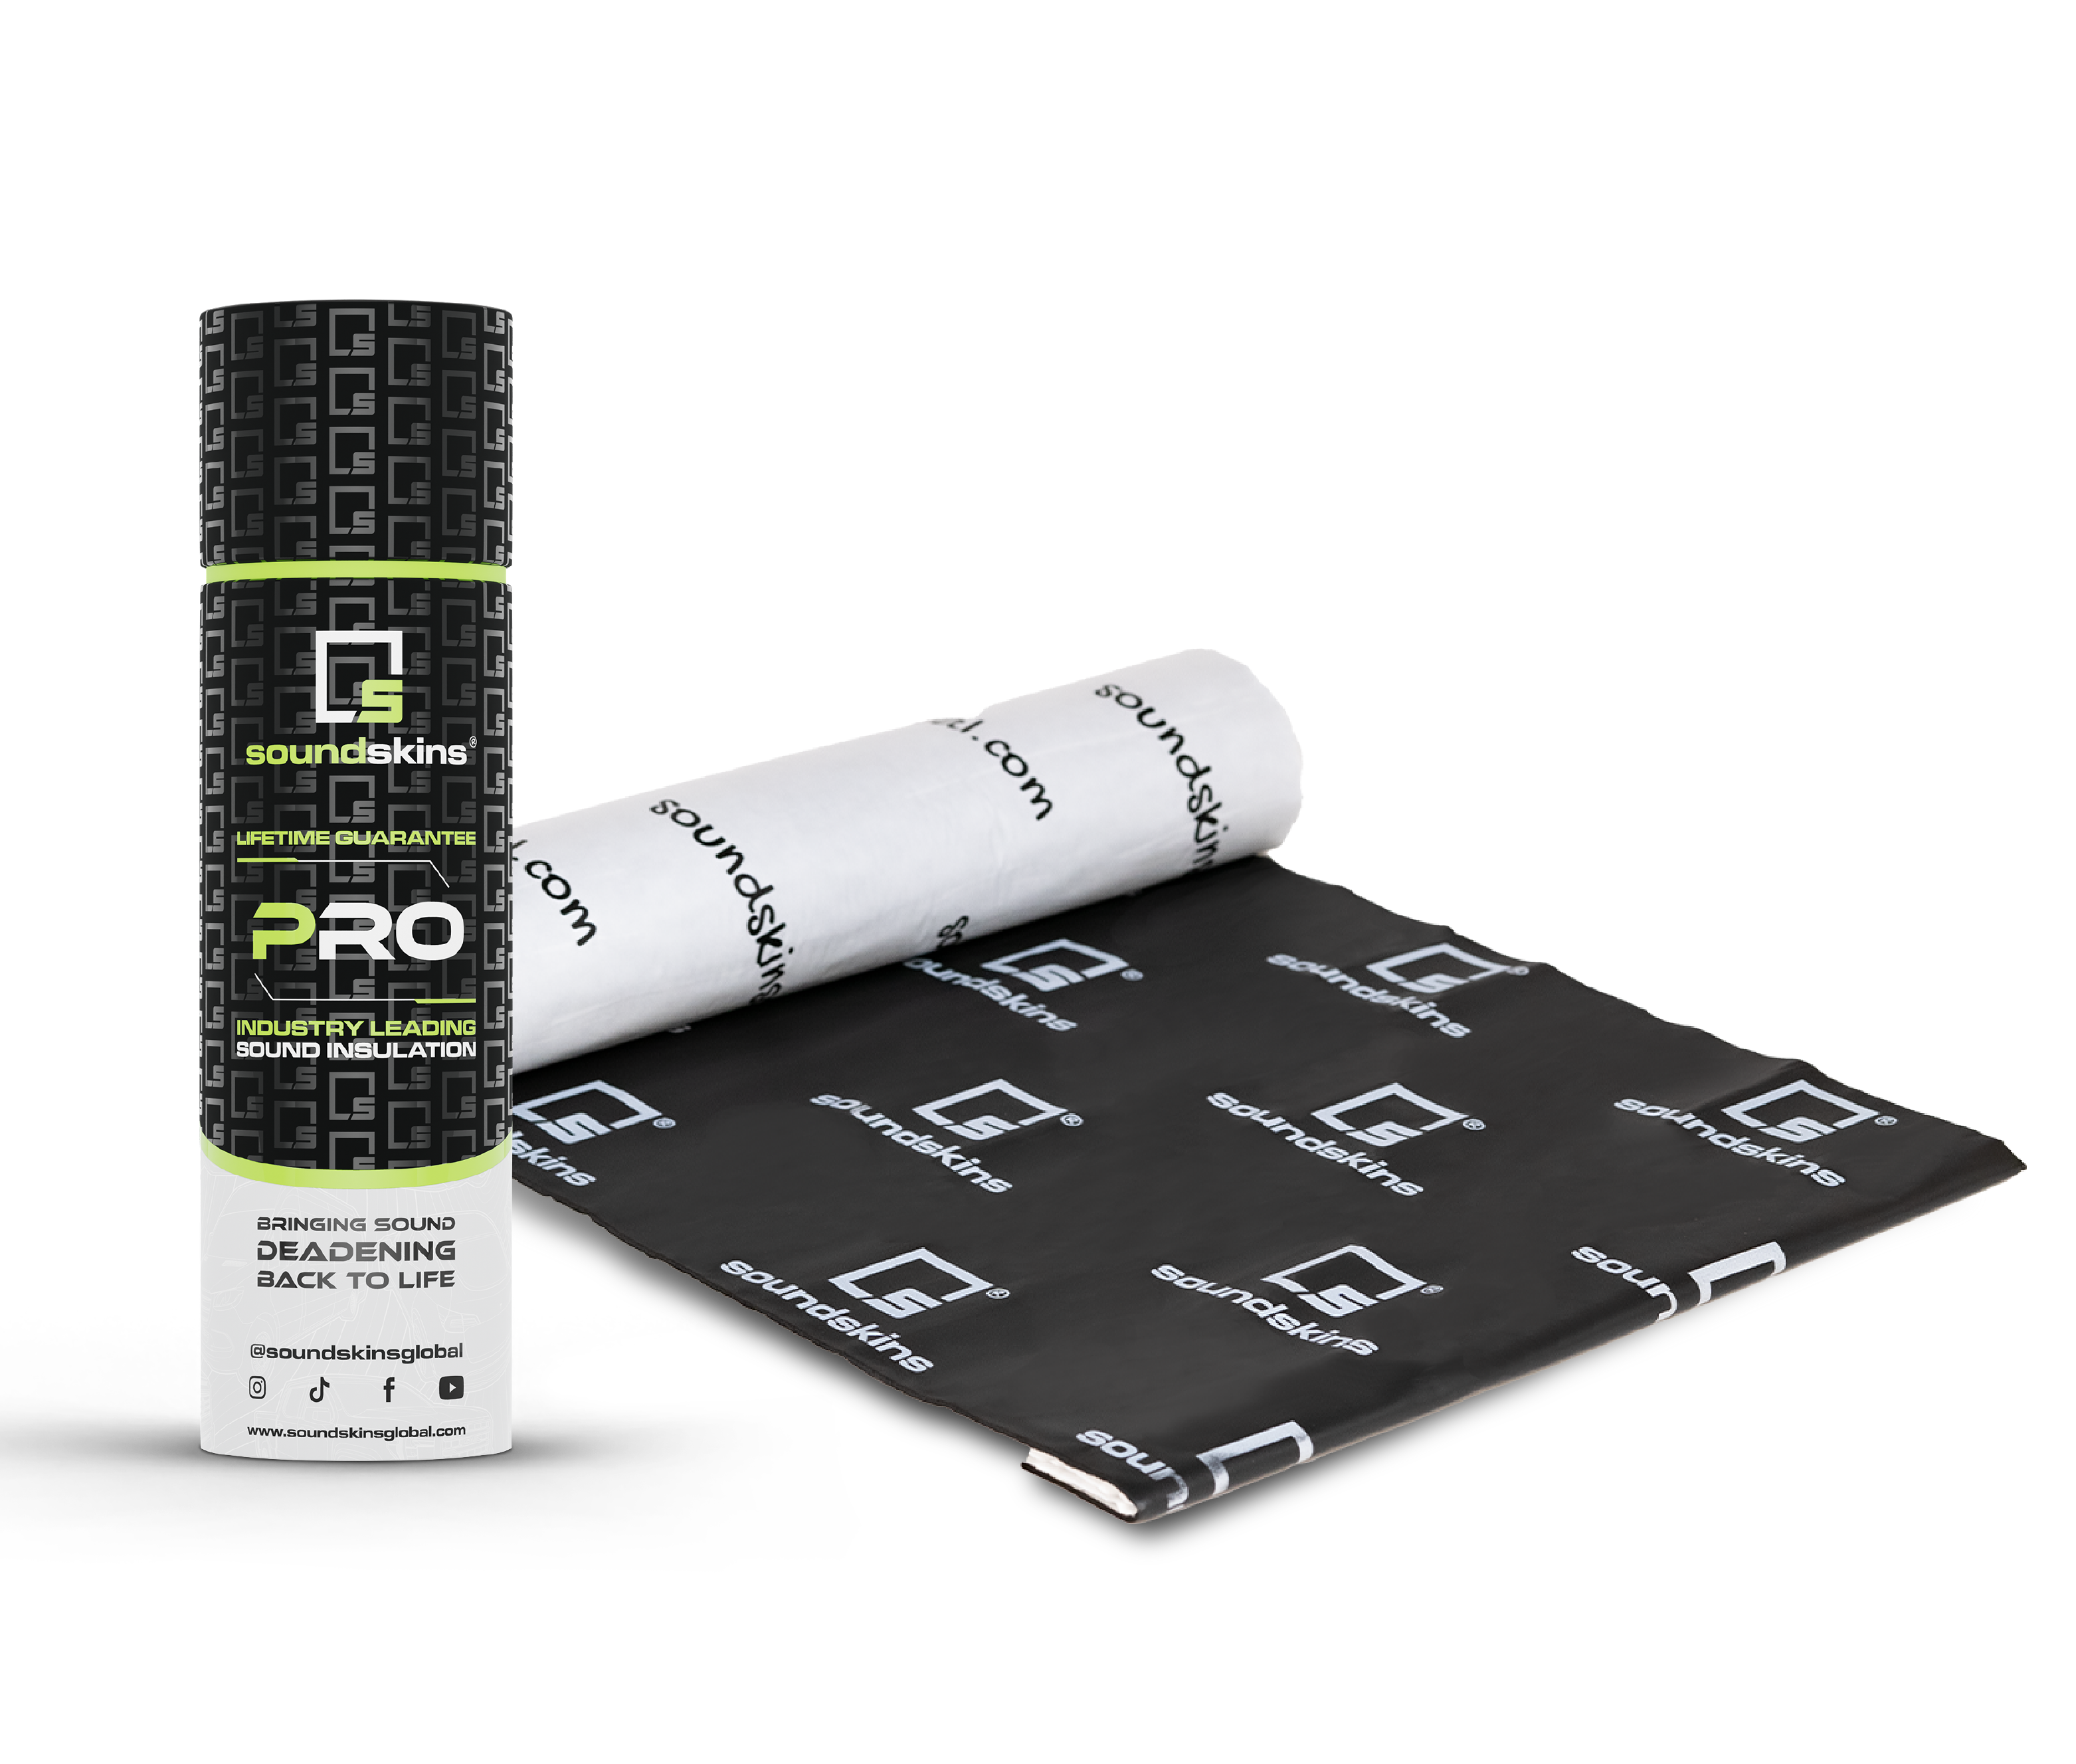
SoundSkins Pro Two Door Kit for the Cabin Side of the Firewall, $124
To stop engine drone from reaching the footwells, pair the Heat Shield with the SoundSkins Pro Two Door Sound Deadening Kit. Its 11 sq ft of 3-layer material (acoustic foam, foil, and rubber butyl) is a good amount for the cabin side of the firewall and front footwells, where engine vibration enters the passenger compartment.
Important Note: Use the Heat Shield for engine bay surfaces and keep cabin materials like butyl deadener inside the vehicle. Never let any insulation touch exhaust manifolds, turbochargers, or downpipes directly. These parts can run much hotter than 480°F, so keep insulation on the hood and firewall surfaces only, with a clear air gap around exhaust components.
How to Install Hood Insulation
Tools You Will Need
- Trim removal tool or clip pliers
- Isopropyl alcohol and clean rags
- Degreaser for oily surfaces
- Sharp utility knife or heavy scissors
- Kraft paper or cardboard for a template
- Small hand roller
- Gloves
Step by Step
- Let the engine cool completely. Never work under a hot hood.
- Remove the old liner. Pop the plastic clips with a trim tool and save any that are still good.
- Clean the hood underside. Remove old adhesive and fiber residue, degrease, then wipe with isopropyl alcohol. Adhesive will not hold on oily or dusty metal.
- Make a template. Trace the flat sections between the hood's support ribs onto paper or cardboard.
- Cut the Heat Shield. Transfer the template and cut panels to fit between the ribs. Leave openings for clip holes, washer lines, and hood latch areas.
- Apply panel by panel. Peel the backing, press the panel into place, and roll firmly from the center outward to remove air pockets.
- Seal the edges. Press down every edge firmly so engine bay airflow cannot lift it.
- Reinstall clips or a cover if desired. Factory clips can be pushed back through cut holes for extra security.
- Close the hood slowly the first time. Confirm nothing touches the engine, intake, or strut tower when the hood is shut.
Pro Tip: On hoods with deep support ribs, cut separate pieces for each section between the ribs instead of one large sheet. Smaller pieces bond flat to the metal, look cleaner, and hold much better over years of heat cycling than a single sheet stretched over the ribs.
Common Hood Insulation Mistakes
- Using cabin deadener under the hood. Door and floor materials are not designed for engine bay temperatures.
- Skipping surface prep. Oil and dust are the main reasons hood insulation falls down.
- Covering hood vents or scoops. Functional vents release heat and should stay open.
- Blocking hinges, latches, or washer lines. Always check moving parts before closing the hood.
- Ignoring clearance. Thick material can contact tall engine covers or air intakes on some vehicles.
Which Vehicles Benefit Most From Hood Insulation
- Diesel trucks with loud injector and engine clatter
- Turbocharged cars with high under hood temperatures
- Older trucks and classic cars that have lost or never had a hood liner
- Daily drivers in hot climates where heat soaks the hood and fades paint
- Project and restomod builds where a clean, finished engine bay matters
Owners of older pickups will also find helpful ideas in this guide to the best heat and noise insulation for older pickup trucks.
Frequently Asked Questions
Does hood insulation reduce engine noise?
Yes. It absorbs engine noise in the engine bay and stops the hood from resonating. For the biggest reduction inside the cabin, treat the firewall as well.
Does hood insulation protect paint?
A reflective heat barrier keeps much of the engine heat away from the hood panel, which helps slow paint fading and clear coat damage caused by heat cycling.
Can I use regular sound deadening under the hood?
It is not recommended. Use a product rated for engine bay temperatures, like the SoundSkins Heat Shield, which is rated up to 480°F.
How much material do I need for a hood?
Most car and truck hoods fall well within a single 53.82 sq ft roll of Heat Shield, often with enough left for part or all of the firewall.
Do I need to remove the factory hood liner?
If it is damaged, sagging, or oil-soaked, remove it and install new insulation directly on clean metal. If it is in good condition, many owners add insulation to the open areas and reinstall the liner.
Will hood insulation make my hood heavier?
Only slightly. The full Heat Shield roll weighs 9.9 lbs, and a hood uses only part of it, so the extra weight is minimal for hood struts.
A Cooler, Quieter Engine Bay Starts Under the Hood
Hood insulation is one of the easiest engine bay upgrades you can make in an afternoon. It cuts engine noise, keeps heat off the paint, and gives the engine bay a clean, finished look. Add the cabin side of the firewall, and you will hear the difference from the driver's seat on every drive.
Shop SoundSkins Heat Shield with free shipping on all orders to the continental U.S.


