
Is Car Sound Deadening Worth It? Exploring the Benefits and Options
Is Car Sound Deadening Worth It? Exploring the Benefits and Options
When it comes to enhancing the driving experience, car sound deadening is a topic often discussed among automotive enthusiasts and everyday drivers alike. The constant hum of road noise, the roar of the engine, and the various squeaks and rattles that accumulate over time can detract from the joy of driving and even affect vehicle communication and comfort. But is investing in sound deadening really worth it? This blog aims to uncover the true benefits of car sound deadening, explore the different options available, and help you decide if it's the right choice for your vehicle. From improved audio quality to increased resale value, we'll examine how sound deadening can transform your driving experience.
What is Car Sound Deadening?
In this section, we delve into the essence of car sound deadening, explaining not just what it is but also how it functions to enhance the driving experience. Sound deadening refers to the process of adding materials to a car’s interior to absorb and reduce noise generated from both external and internal sources. This can include road noise, engine sounds, and vibrations from the vehicle’s structure itself.
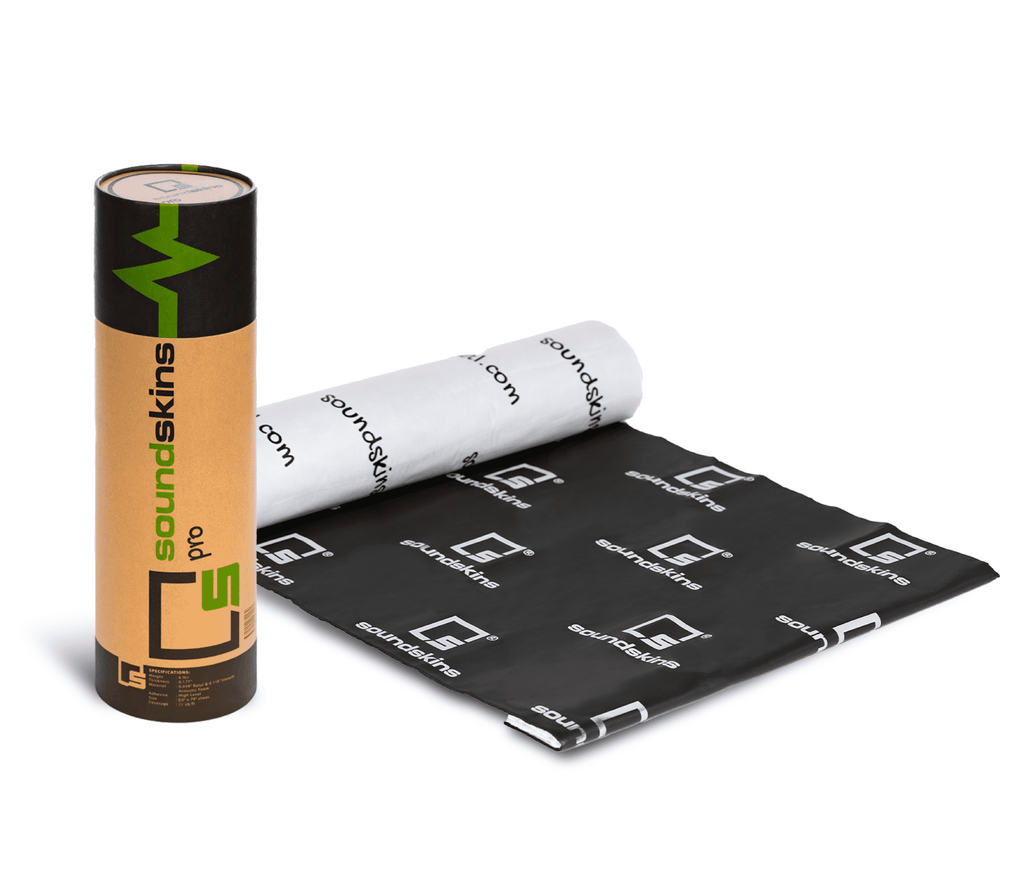
Understanding Sound Deadening Materials
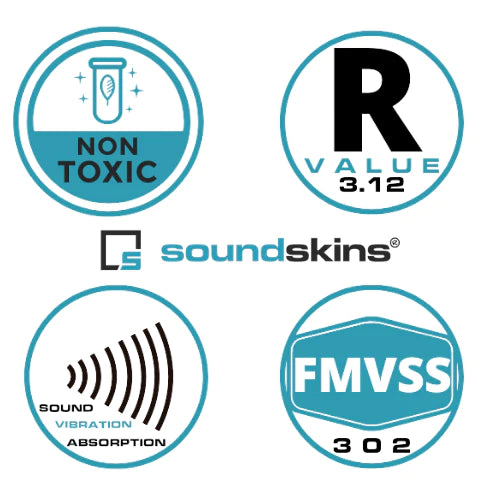
Sound deadening materials are designed to dampen vibrations and absorb sound waves. Common materials used include specialized mats, foam, sprays, and insulation that are applied to the doors, floors, roof, and even the trunk of the vehicle. Each material has its own properties and effectiveness, tailored to different parts of the car for optimal noise reduction.
How Sound Deadening Works in Cars
The effectiveness of sound deadening materials comes from their ability to convert sound energy into a small amount of heat, dissipating it before it can reverberate throughout the car’s interior. By creating a barrier against noise intrusion and absorbing vibrations, these materials significantly reduce the audible clutter that can make driving stressful or less enjoyable.
The Benefits of Car Sound Deadening
Investing in sound deadening for your car goes beyond just muffling unwanted noise. This section highlights the significant advantages that sound deadening can offer, making it a worthwhile consideration for many vehicle owners.
Enhanced Audio Quality
One of the most noticeable benefits of sound deadening is the improvement in audio quality inside the vehicle. By reducing ambient noise, sound systems can perform at their best without the need to increase volume to compete with external sounds. This means clearer, crisper audio playback, whether you're listening to music, a podcast, or taking a phone call. It's particularly appreciated by audiophiles who value the purity of sound.
Increased Comfort and Privacy
Sound deadening also contributes significantly to the overall comfort and privacy within the vehicle. With reduced road noise, conversations can be held at a lower volume, and less noise from the outside world intrudes, creating a quieter, more secluded environment. This privacy is particularly valued in urban settings or during long road trips where external noise can be a constant annoyance.
Improved Vehicle Value and Longevity
Adding high-quality sound deadening can also enhance the resale value of your car. A quieter cabin is often associated with luxury and can be a selling point for potential buyers. Additionally, sound deadening materials help protect against rust and wear by providing an extra layer of insulation from moisture and debris, potentially extending the lifespan of the vehicle’s interior components.
Options for Car Sound Deadening
Choosing the right sound deadening solution can vary greatly depending on your budget, vehicle type, and desired outcome. This section covers the spectrum of choices, from DIY projects to professional services, along with a look at the various materials that can be used.
DIY vs. Professional Installation
For those who enjoy hands-on projects, DIY installation of sound deadening materials can be a rewarding endeavor. It allows for customization and can be cost-effective, particularly for smaller areas or specific sections of the vehicle. However, DIY installations require a certain level of skill and patience, and mistakes can be costly or ineffective.
On the other hand, professional installation guarantees a more comprehensive and assured result. Professionals have access to high-quality materials and tools, and their experience ensures that the sound deadening is applied correctly and efficiently. This option is ideal for those who prefer a hassle-free process or who want to ensure that the entire vehicle is treated comprehensively.
Types of Sound Deadening Materials
There are several types of sound deadening materials available, each with its own advantages:
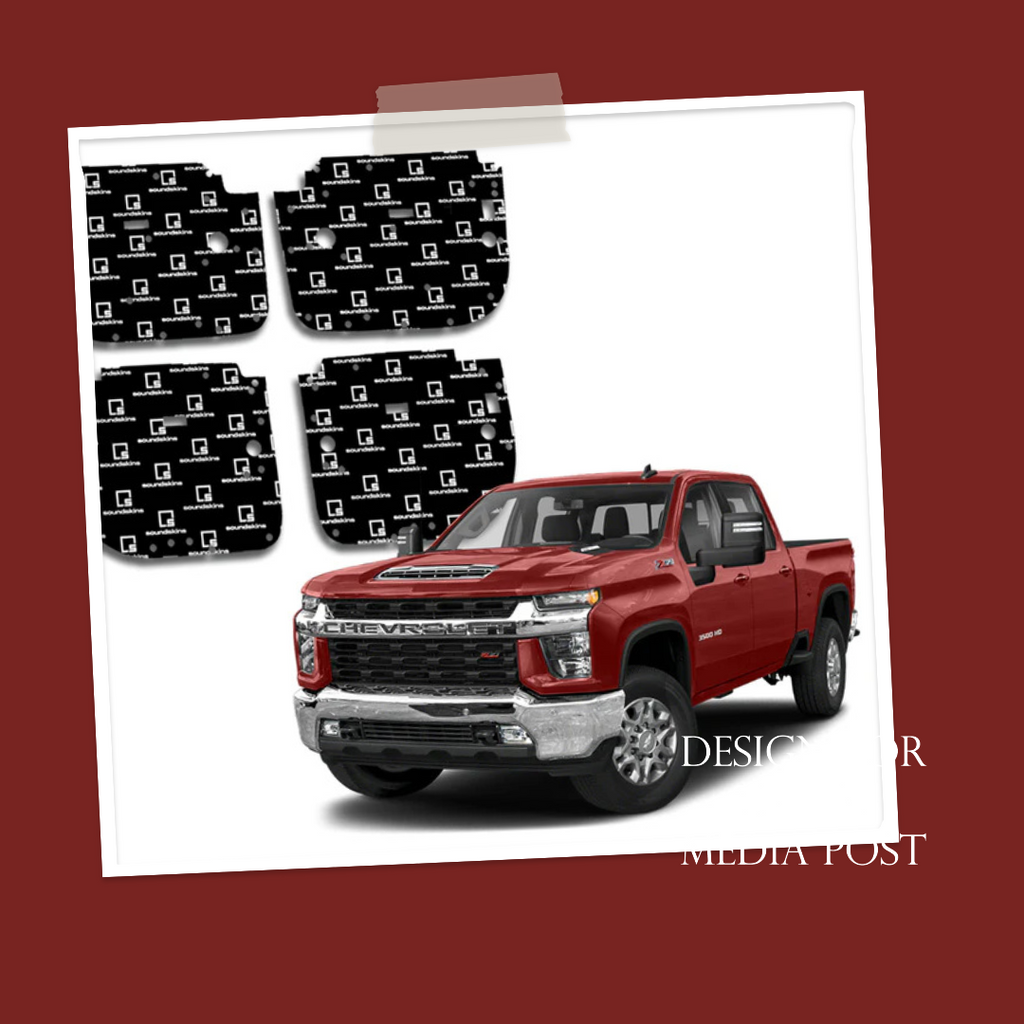
- Damping mats: Typically made of butyl and aluminum, these are used to cover large flat metal surfaces like doors and floors.
- Foams: These can be sprayed or laid in sheets to fill cavities and cover complex surfaces.
- Insulation liners: Often used under carpets and in the trunk, these materials provide both sound dampening and thermal insulation.
- Spray coatings: Ideal for irregular surfaces and hard-to-reach areas, these provide a layer of soundproofing across various materials and shapes.
Considerations for Choosing the Right Option
When deciding on a sound deadening solution, consider factors like the specific areas of your car that need treatment, your budget, and how long you intend to keep your vehicle. Also, think about the climatic conditions your car is exposed to, as some materials may perform better in certain environments than others.
Conclusion
Car sound deadening is an investment in both the comfort and performance of your vehicle, offering a quieter cabin environment that enhances the overall driving experience. While the cost and method can vary—ranging from DIY projects to professional installations—the benefits of reduced noise, increased privacy, and enhanced audio quality are clear. Additionally, the potential to improve vehicle resale value and longevity makes sound deadening a worthwhile consideration for any car owner looking to elevate their ride. Whether you’re an audiophile desiring pristine sound or a daily commuter seeking solace from road noise, sound deadening provides a customizable solution to meet diverse needs.
Frequently Asked Questions
Q: Is car sound deadening worth the investment?
Ans: Yes, for many drivers, the investment in sound deadening is worthwhile due to the significant increase in comfort, improved audio quality, and potential resale value it offers.
Q: How much does car sound deadening typically cost?
Ans: The cost can vary widely, typically ranging from a few hundred to over a thousand dollars, depending on the materials used and whether you opt for a DIY approach or professional installation.
Q: Can I install sound deadening materials myself?
Ans: Yes, DIY installation is possible and can be a cost-effective solution for those who are handy and willing to invest time. However, for comprehensive coverage and guaranteed results, professional installation is recommended.
Q: What are the best materials for sound deadening?
Ans: The most effective materials typically include damping mats, foam liners, and spray-on coatings. Each has its advantages depending on the specific areas of the car being targeted and the level of noise reduction desired.
Q: Does sound deadening improve a car's resale value?
Ans: While it's not guaranteed, a quieter cabin can make a vehicle more appealing to potential buyers, especially if the sound deadening is part of an overall well-maintained and upgraded vehicle.