


The Toyota RAV4 does a lot right. It is reliable, efficient, practical, and easy to live with every day. But get it on the highway and many owners notice the same thing: a constant drone that fills the cabin, makes conversations harder, and pushes the radio volume up a few notches every trip.
That drone is not in your head, and it is not something you have to live with. RAV4 road noise comes from a few predictable places, and once you treat them, the cabin feels calmer and more refined than it ever did from the factory.
Why the RAV4 Is Loud on the Highway
The RAV4 is built to hit a price point and fuel economy target, and sound insulation is one of the areas where compact SUVs save weight and cost. Several design traits make the noise more noticeable.
The open cargo area. Unlike a sedan, the RAV4 has no sealed trunk between the rear wheels and your ears. The cargo floor, rear wheel wells, and hatch all share air space with the cabin, so tire roar from the back travels straight forward.
Large, thin panels. Doors, the cargo floor, and the rear quarter panels are big sheets of metal that vibrate and act like drum skins at highway speed.
Low rolling resistance tires. Factory tires are chosen for efficiency, and many owners report that tire choice has a big effect on how loud their RAV4 feels.
Hybrid engine noise under load. On hybrid models, the gas engine can be noticeable during hard acceleration and long climbs.
Wind around the mirrors and door seals. The upright SUV shape creates wind noise at higher speeds, especially around the front doors.
Even the Newest RAV4 Still Has a Noise Problem
Toyota knows owners want a quieter cabin. For the sixth generation, the most surprising finding from one launch drive was that road noise still came through from the rear of the vehicle, even though Toyota added extra sound insulation and vibration damping materials throughout the structure. Another first drive review listed too much road noise as a con and said the 2026 RAV4 is still too loud, just like the previous model.
So whether you drive an older RAV4, a fifth generation model, or a brand new 2026, the same zones are worth treating.
| Generation | Model Years | Noise Notes |
|---|---|---|
| 4th Gen | 2013 to 2018 | Light factory insulation, noticeable tire and floor noise |
| 5th Gen | 2019 to 2025 | Most common owner complaint is rear cabin drone at highway speed |
| 6th Gen | 2026 and newer | More factory insulation, but rear cargo area noise remains |
Find Your RAV4 Noise Source First
Different noises have different causes. Spend one drive listening carefully before you buy anything.
| What You Hear | When It Happens | Likely Source |
|---|---|---|
| Low hum or drone | Steady highway speed | Tires, rear wheel wells, cargo floor |
| Whooshing or hissing | Above 50 mph | Wind around mirrors, door seals |
| Buzzing or rattling | Bumps or loud music | Door panels, hatch trim, loose parts |
| Roar that rises with speed and changes on different pavement | Rough or concrete roads | Tires and floor |
| Engine drone | Acceleration, climbing hills | Engine bay and firewall |
Important Note: If the hum gets louder when turning in one direction, or has a rhythmic "whir-whir" sound that changes with speed rather than road surface, have your wheel bearings checked before treating the cabin. A worn bearing is a mechanical issue, and sound deadening will not fix it.
Quick Wins Before Sound Deadening
These simple steps cost little and help narrow down the problem.
- Check tire pressure. Over or under inflated tires can increase noise and wear.
- Rotate your tires. Uneven wear patterns make tires noticeably louder over time.
- Consider quieter tires at replacement time. Touring tires with good noise ratings can make a real difference.
- Inspect door and hatch seals. Torn or compressed weatherstripping lets wind and road noise in.
After these, the remaining drone is almost always structural, which is exactly what sound deadening is designed to fix.
How Sound Deadening Fixes RAV4 Road Noise
Sound deadening works in two ways:
- Stopping vibration. A dense butyl layer bonds to metal panels and stops them from resonating. This kills the drum effect that turns road vibration into cabin noise.
- Blocking and absorbing sound. A foam layer on top decouples trim from metal, absorbs airborne noise, and reduces squeaks and rattles.
SoundSkins Pro material combines both in one product, with three layers of acoustic foam, foil, and rubber butyl. That means one install handles vibration and airborne noise together.
Where to Treat a RAV4 for the Biggest Improvement
1. Rear Cargo Floor and Wheel Wells
This is the most important area on a RAV4. The rear tires sit directly under the cargo area, and with no trunk wall between the cargo space and the cabin, their noise travels forward unchecked. Treat the cargo floor, spare tire well, and the inner rear wheel wells first.
2. Doors
RAV4 doors are large and thin. Treating the outer door skin stops vibration, and covering access holes in the inner door skin blocks road and wind noise. Door treatment also improves speaker bass and clarity, since doors act as the speaker enclosure.
3. Rear Hatch
The hatch is a large hollow panel that resonates and lets road noise in from the back. Treating its inner skin reduces drone and tightens up rattles around the latch and trim.
4. Cabin Floor
Floor treatment under the carpet reduces tire roar from the front wheels and road noise from below. It is a bigger job because seats and carpet need to come out, so many owners do it as a second phase.
5. Trim Rattles
Plastic trim against plastic or metal creates buzzes that are often mistaken for road noise. Foam tape between contact points silences them for good.
Best SoundSkins Products for RAV4 Noise Reduction
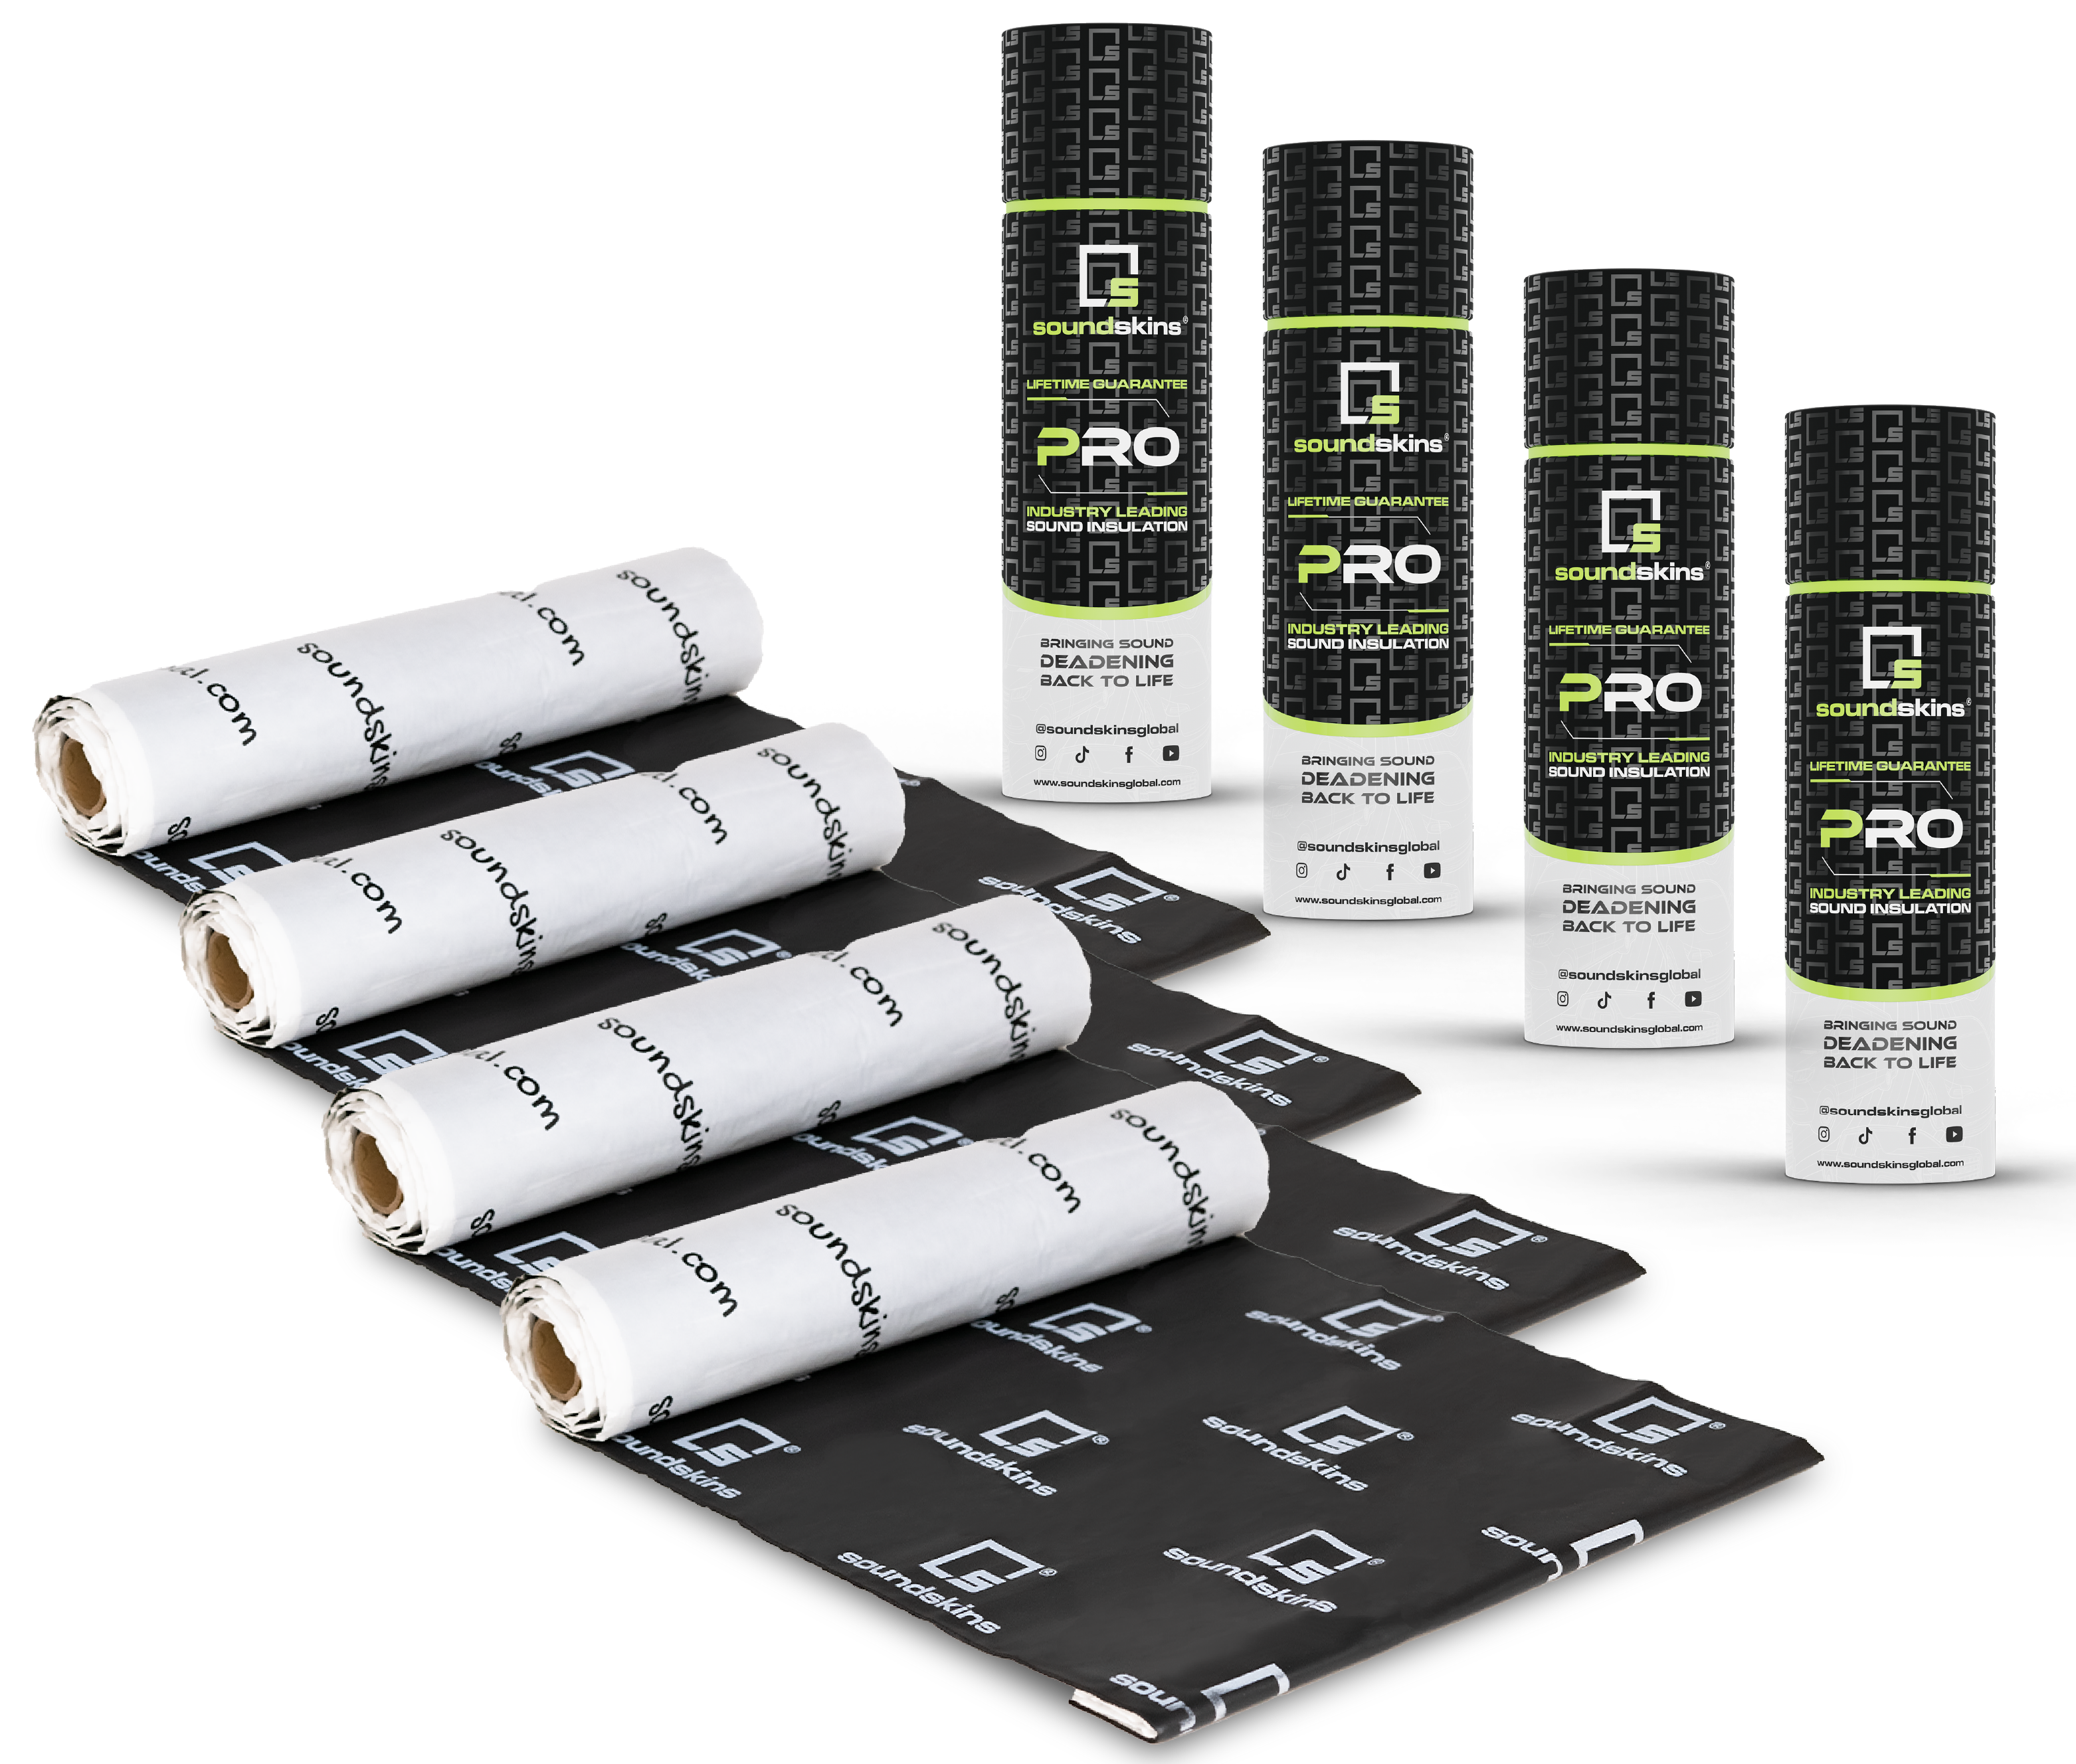
SoundSkins Pro Four Door Kit for Doors, $229
The SoundSkins Pro Four Door Sound Deadening Kit includes 22 sq ft of 3-layer material, enough to treat all four RAV4 doors. It is the best starting point for owners who want less wind noise, fewer rattles, and better speaker sound.

SoundSkins Pro Mega Kit for Doors Plus Cargo Area, $412
The SoundSkins Pro Mega Sound Deadening Kit gives you 44 sq ft of 3-layer material. That covers the four doors plus the cargo floor and rear wheel wells, the two areas responsible for most RAV4 highway drone. For most owners, this is the best value kit for a noticeably quieter cabin.
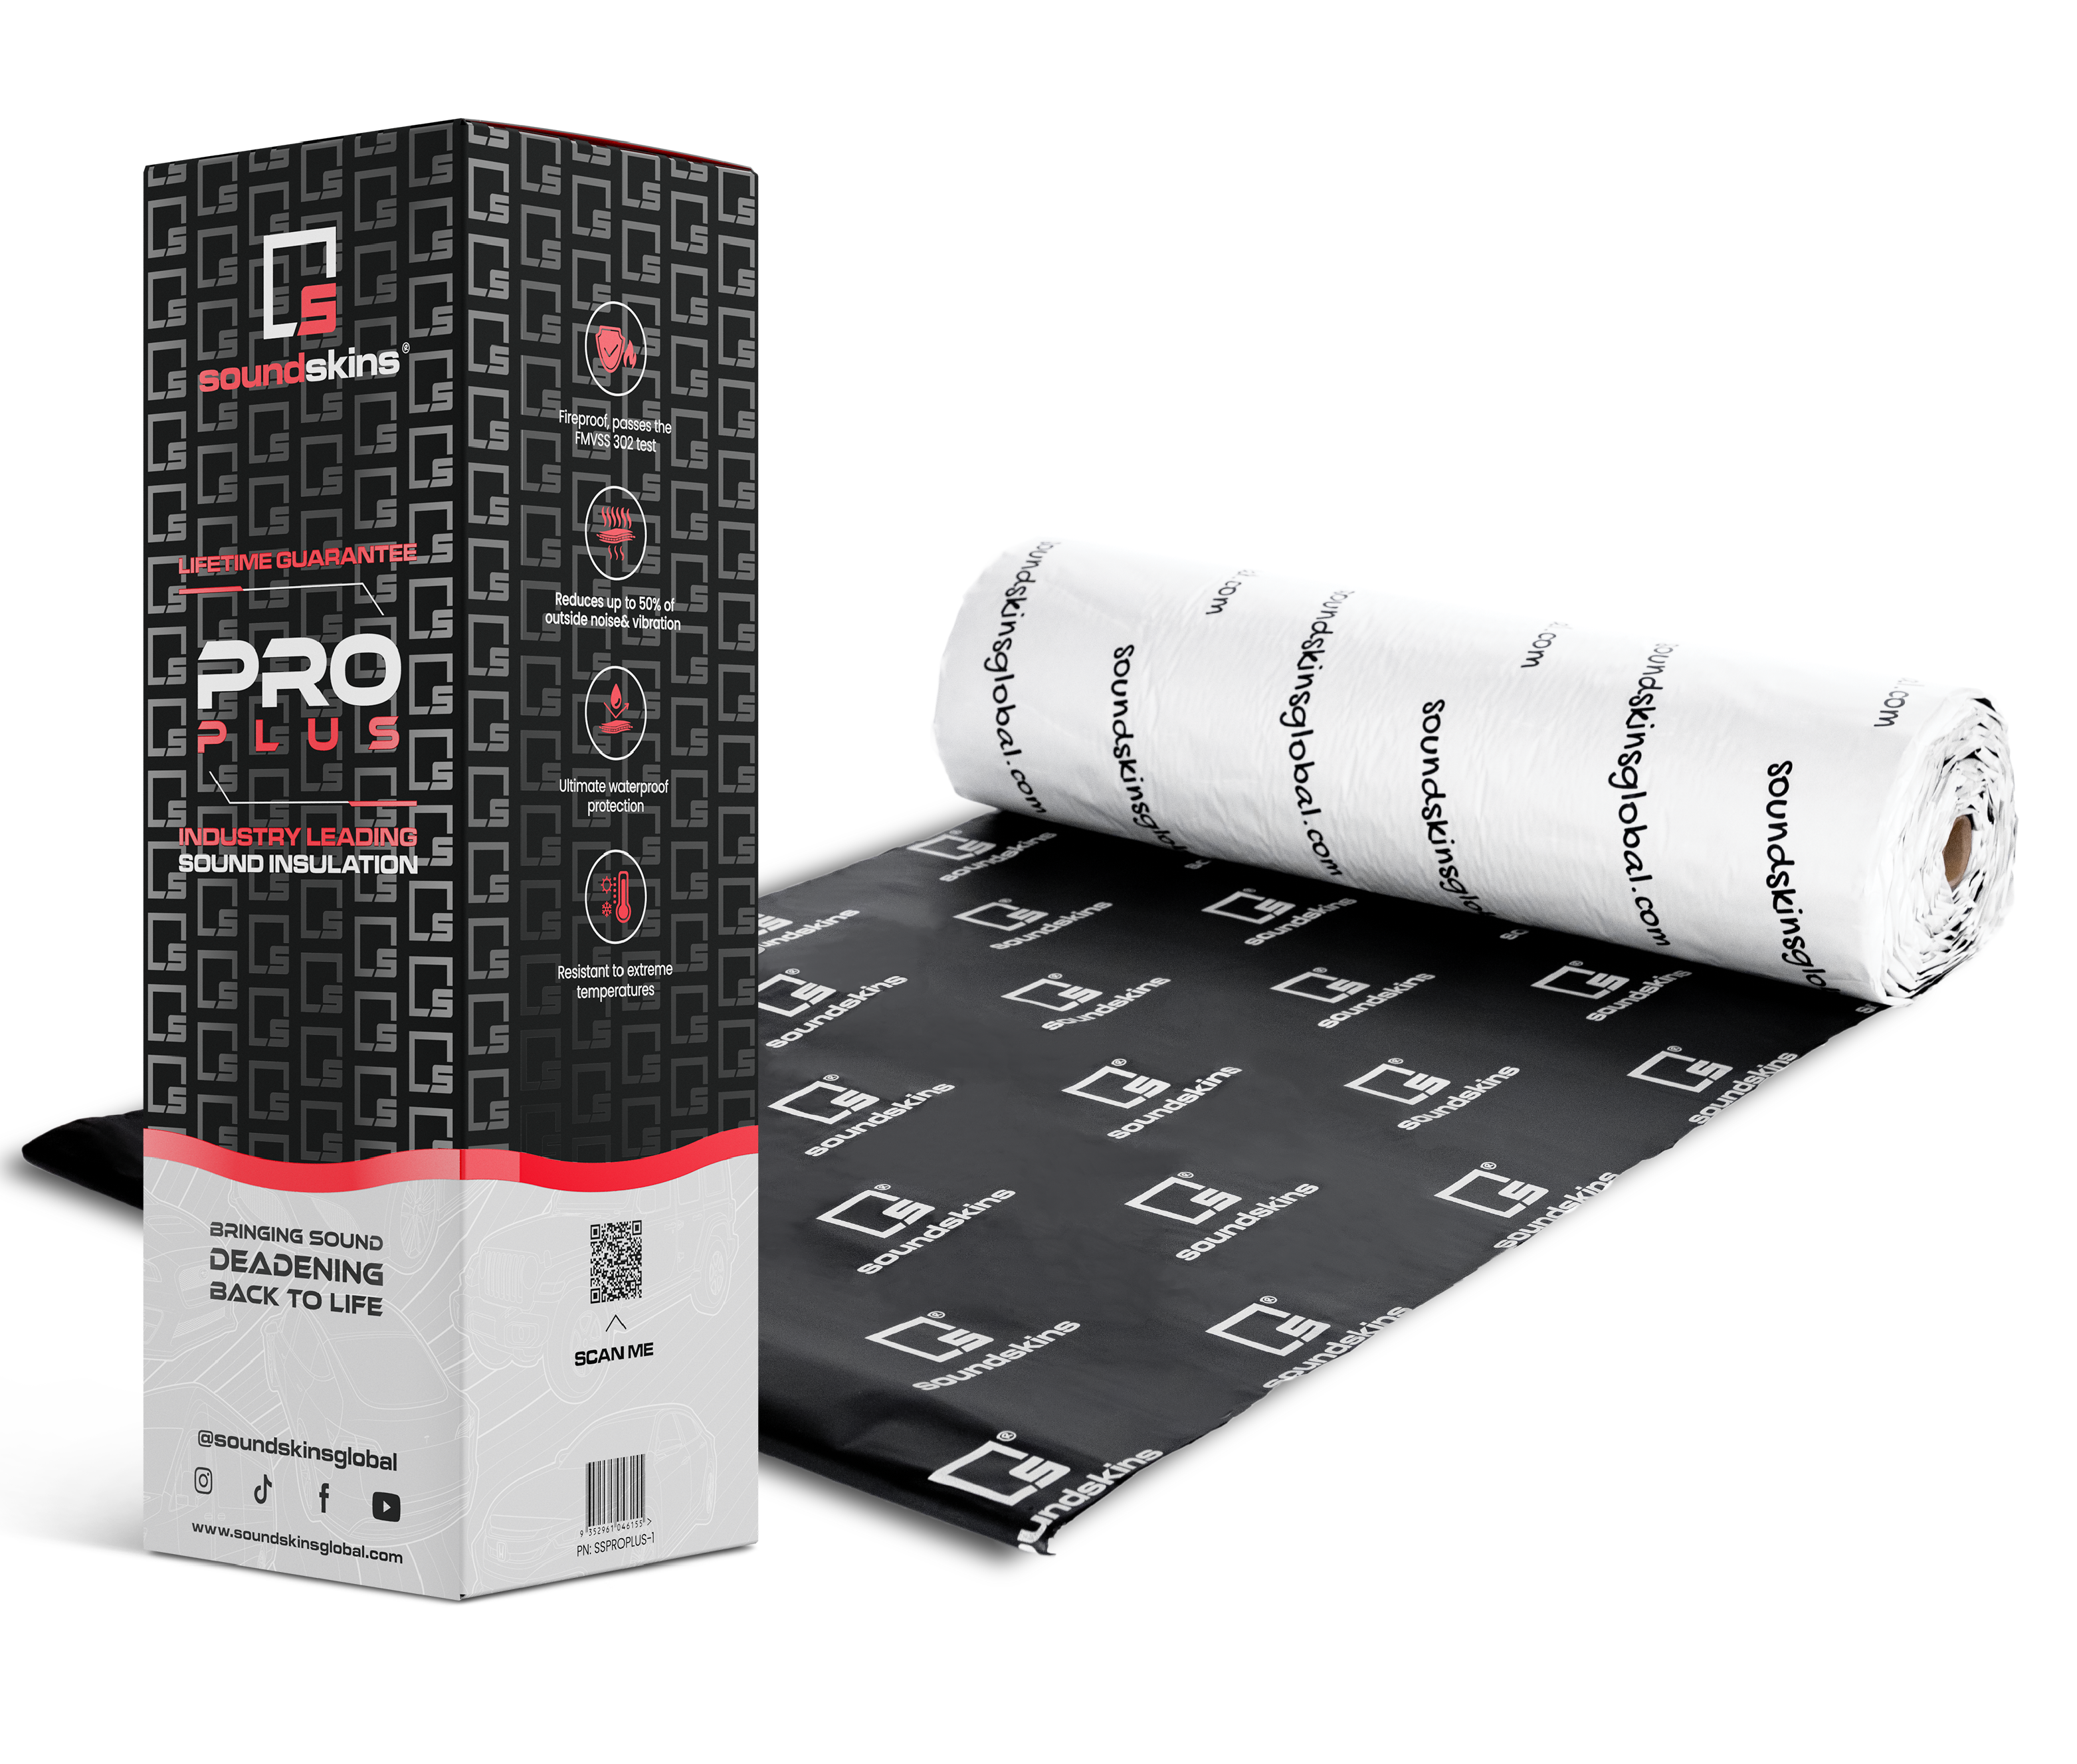
SoundSkins Pro Plus Workshop Kit for Full Cabin Treatment, $494
The SoundSkins Pro Plus Workshop Kit includes 64.5 sq ft of 3-layer material for doors, cargo area, hatch, and floor. Choose this if you want the quietest RAV4 possible and plan to treat the whole cabin.
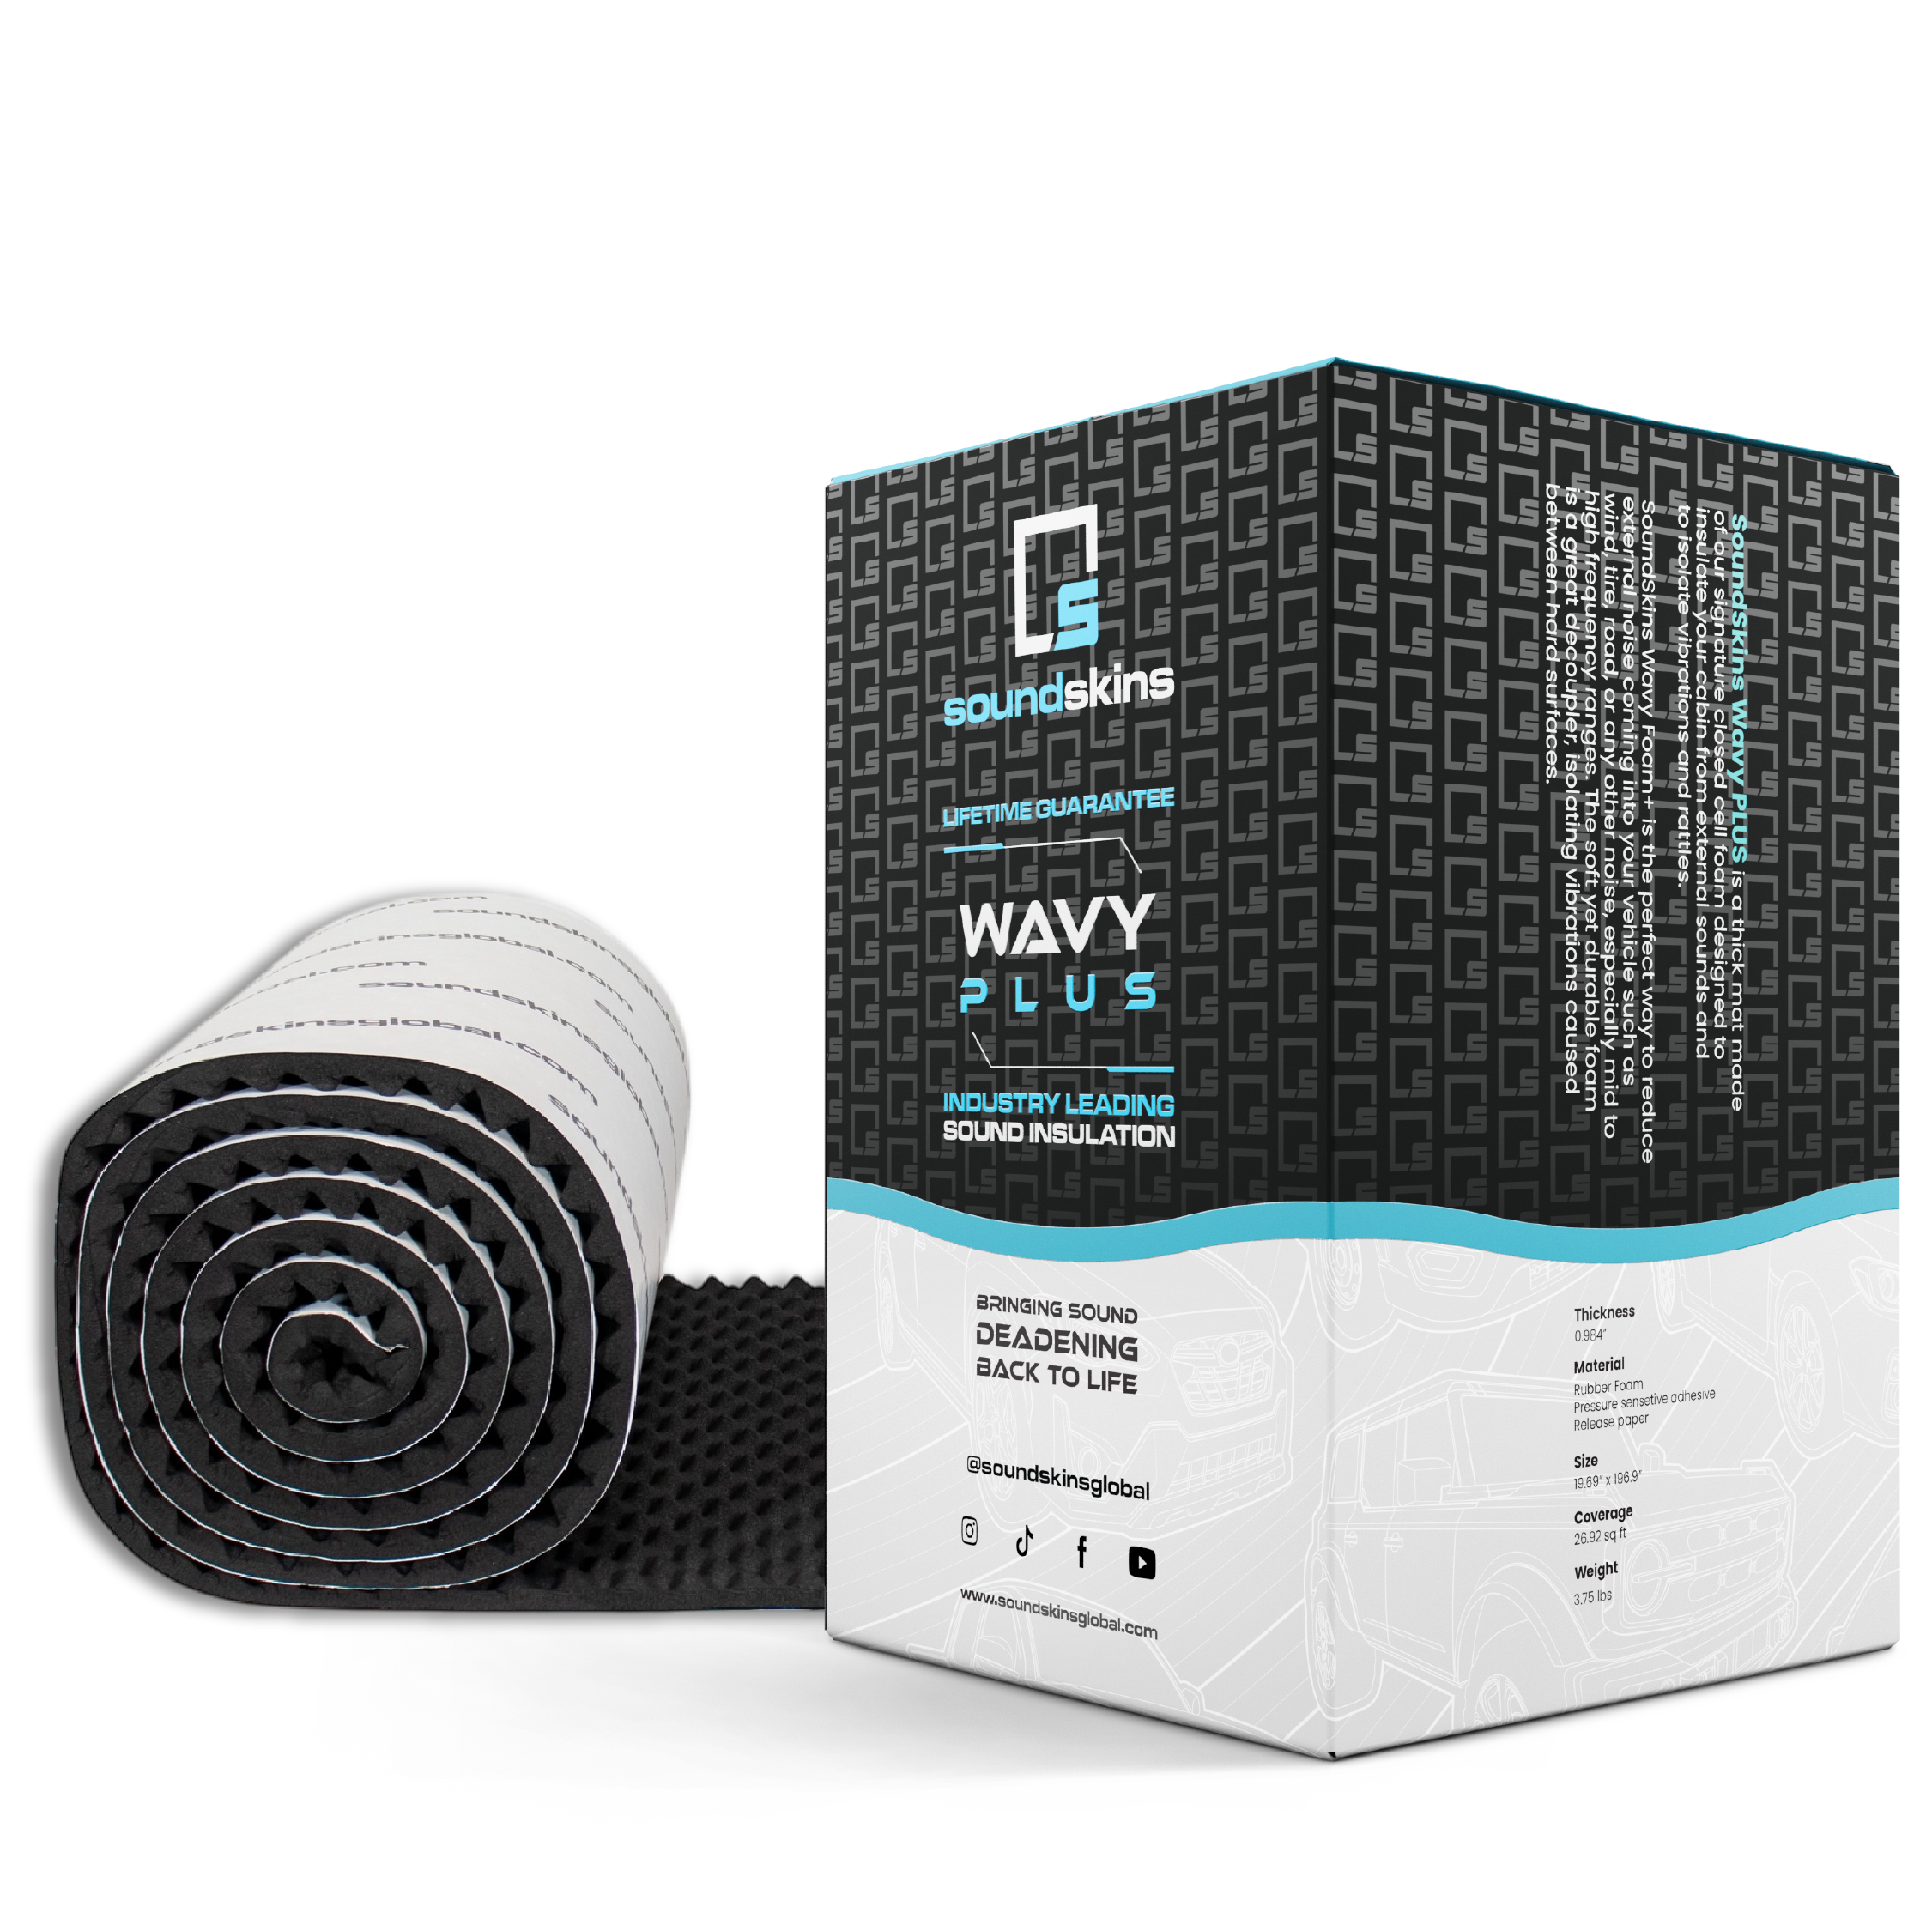
Wavy PLUS Foam for Extra Absorption, $149
The Wavy PLUS Sound Deadening Closed Cell Foam Mat is 25mm thick and covers 26.92 sq ft. Laid on top of deadening under the cargo floor cover and carpet, it adds extra absorption for the rear tire roar that RAV4 owners complain about most.
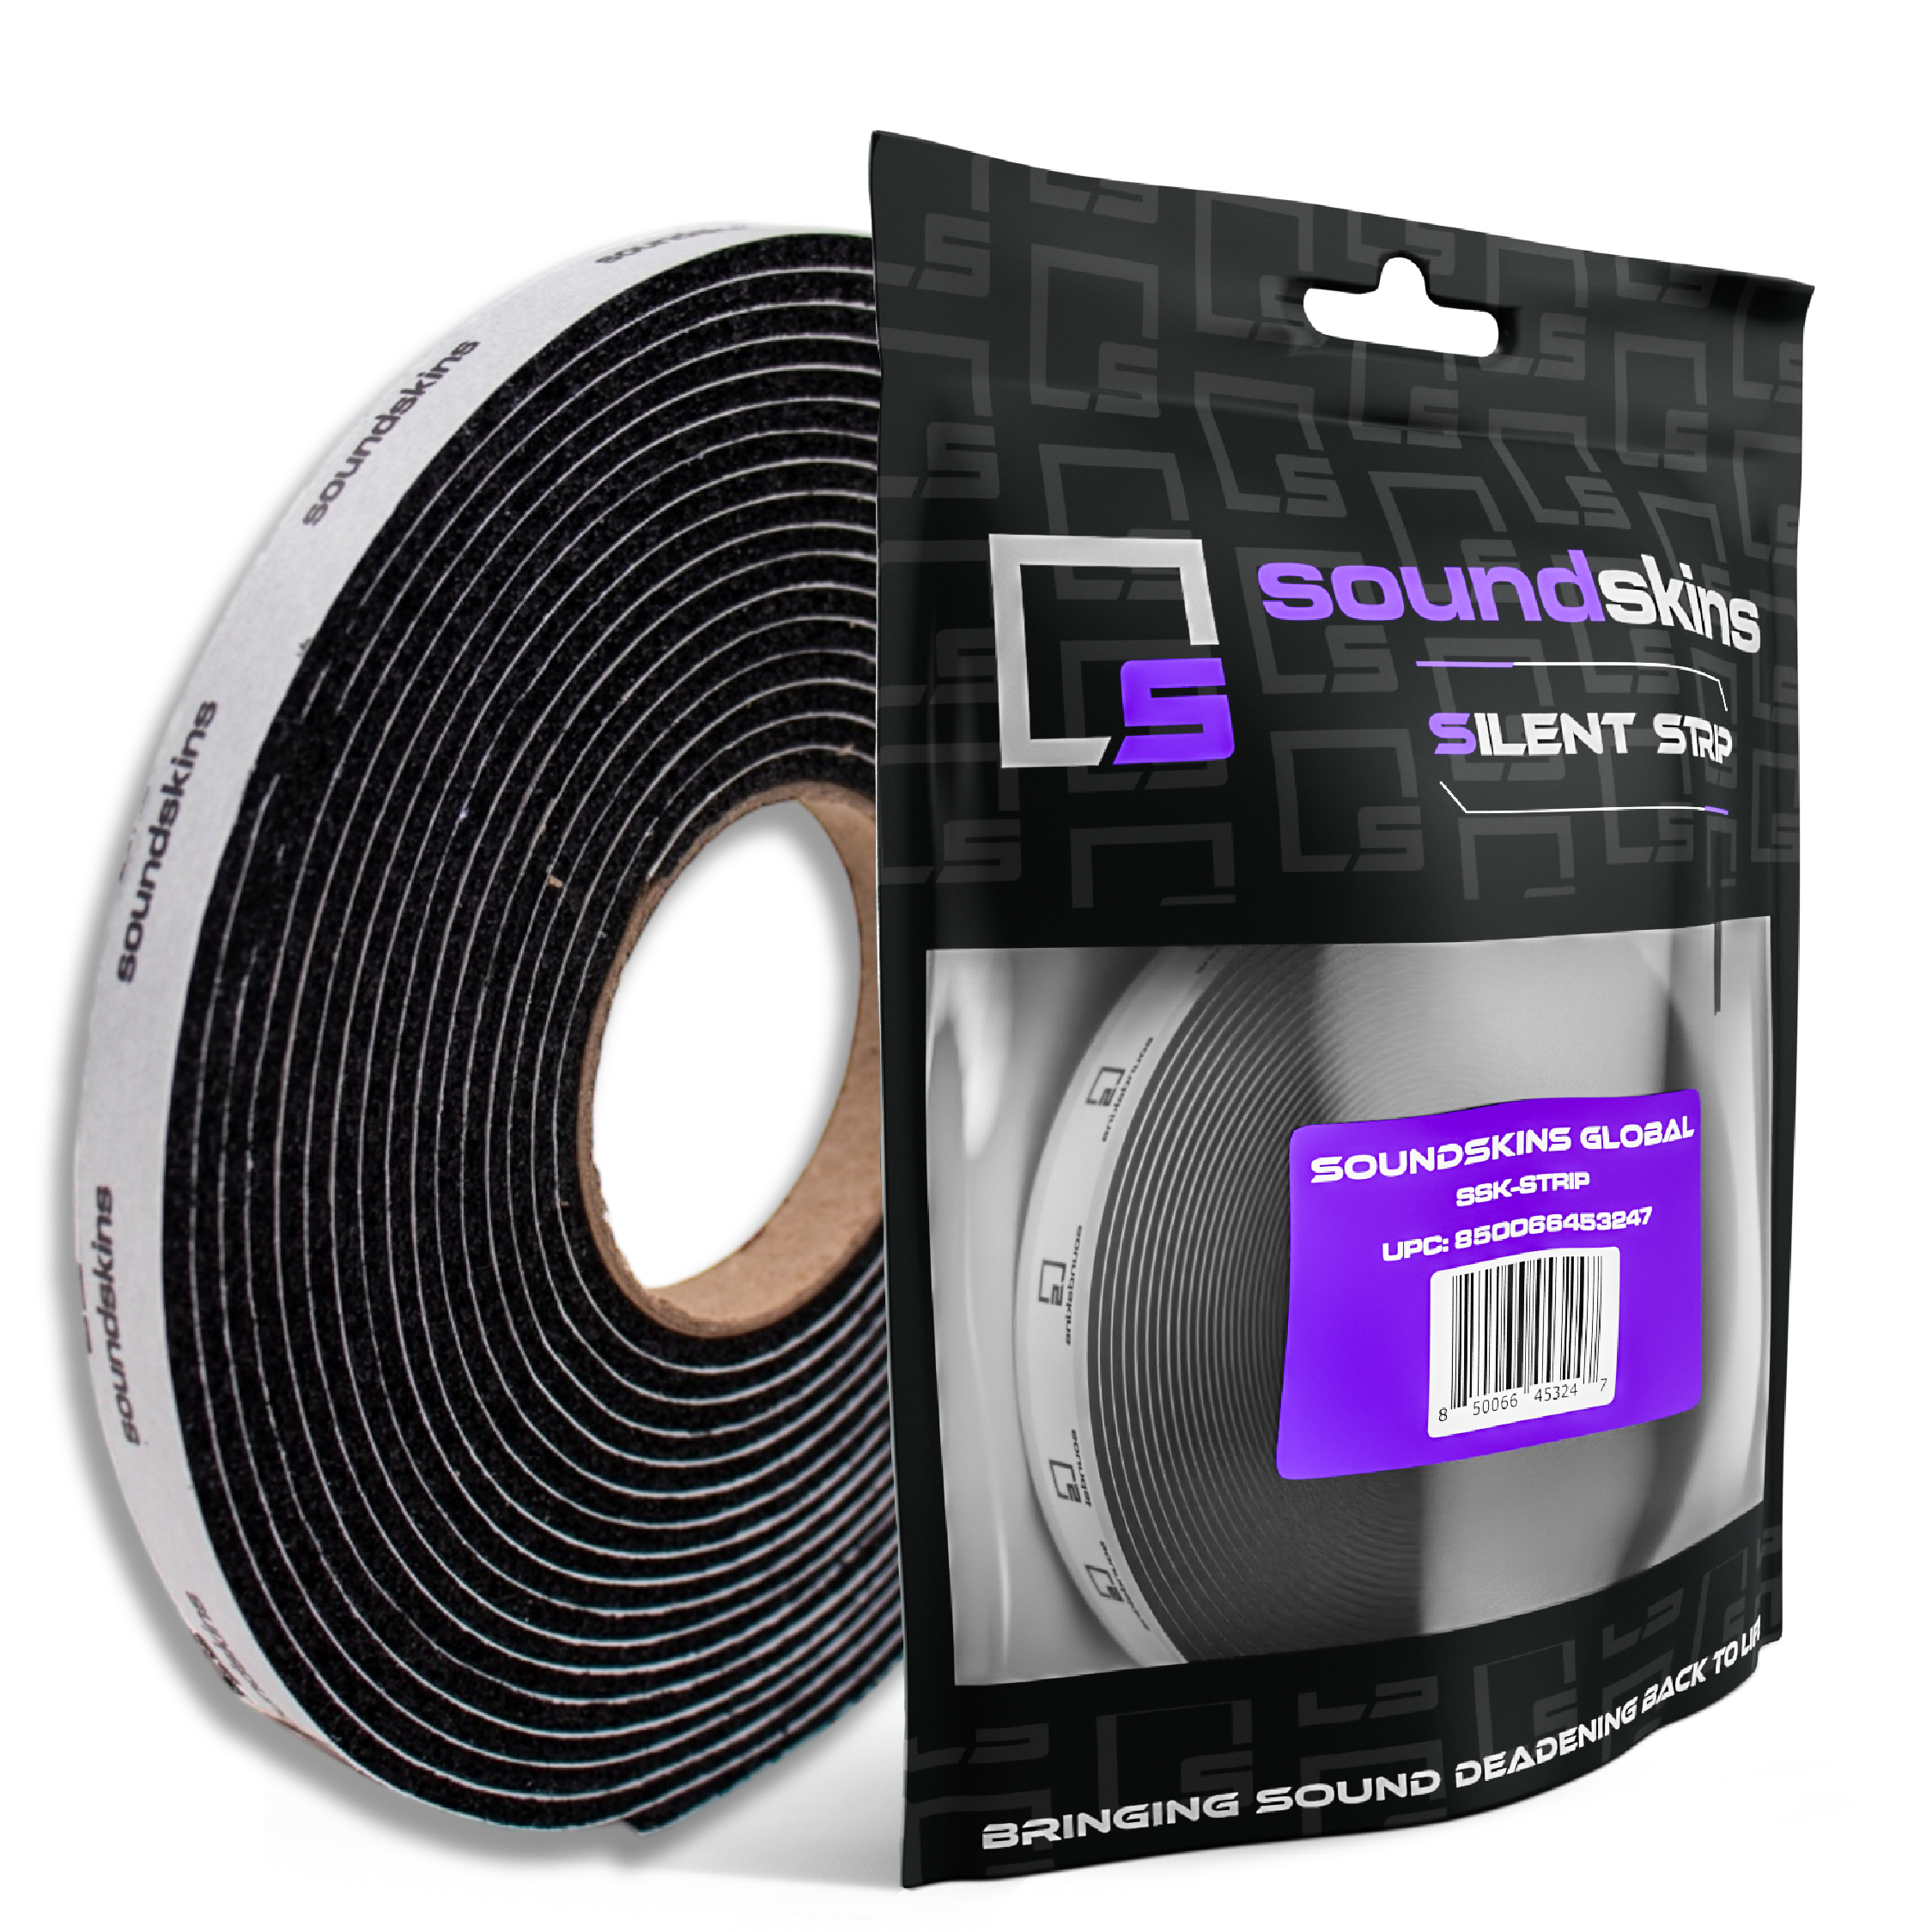
Silent Strip Foam Tape for Rattles, From $16.50
Silent Strip Closed Cell Acoustic Foam Tape goes between trim panels, clips, and hatch contact points to stop buzzing and squeaks. It is a cheap add-on that completes any RAV4 install.
Which RAV4 Kit Should You Choose
| Your Goal | Best Choice | Price |
|---|---|---|
| Less wind noise and better speakers | Pro Four Door Kit | $229 |
| Biggest drop in highway drone | Pro Mega Kit | $412 |
| Quietest cabin possible | Pro Plus Workshop Kit | $494 |
| Extra rear tire noise absorption | Wavy PLUS Foam add-on | $149 |
| Stop buzzing trim | Silent Strip Tape add-on | From $16.50 |
Pro Tip: Start with the cargo area and rear wheel wells, not the doors. On a RAV4, the rear of the cabin is where most highway drone comes from, so treating it first gives the biggest improvement you will hear on your very next drive.
RAV4 Install Tips for Best Results
- Clean every surface. Wipe panels with isopropyl alcohol so the butyl bonds properly.
- Use a roller. Press the material firmly so there are no air pockets between the deadener and the metal.
- You do not need 100% butyl coverage for vibration. Covering the center of large flat panels stops most resonance. Save material for more areas.
- Cover door access holes fully. For blocking road noise, the inner door skin openings should be sealed completely.
- Keep track of clips and fasteners. RAV4 trim uses plastic clips that break easily, so have a few spares and a trim tool on hand.
- Measure before and after. Use a phone decibel app at the same speed on the same road to see your improvement.
This guide on how to measure cabin noise before and after sound deadening shows how to test your results properly. If a buzz shows up after the install, here is how to find the exact spot causing a car interior rattle. Toyota truck owners dealing with similar issues can also check the best sound deadening plan for the Toyota Tacoma.
Frequently Asked Questions
Why is my RAV4 so loud on the highway?
Most RAV4 highway noise comes from the rear tires and cargo area, which share air space with the cabin. Thin door panels, efficiency focused tires, and wind around the mirrors add to it.
What is the best way to reduce RAV4 road noise?
Sound deadening the cargo floor, rear wheel wells, and doors gives the biggest improvement. Adding foam under the cargo floor and treating the hatch and floor takes it further.
Does sound deadening work on a RAV4 Hybrid?
Yes. Hybrids are quiet at low speed, but at highway speed road and tire noise dominate, which is exactly what sound deadening treats.
Is the 2026 RAV4 quieter than older models?
Toyota added more insulation, but early reviews still noted road noise from the rear of the vehicle, so the cargo area remains worth treating.
How much sound deadening does a RAV4 need?
About 22 sq ft covers four doors. Around 44 sq ft covers doors plus the cargo area and rear wheel wells. About 64 sq ft or more covers a full cabin including the floor.
Will RAV4 door soundproofing improve my speakers?
Yes. Treating the doors reduces panel vibration and seals the speaker area, giving tighter bass and clearer vocals.
Enjoy a Quieter RAV4 on Every Drive
Your RAV4 already handles the daily grind well. Fix the drone from the cargo area, tighten up the doors, and silence the rattles, and every commute and road trip becomes calmer and less tiring.
Shop SoundSkins Pro sound deadening kits and get free shipping on all orders to the continental U.S.


